Game Mechanics or The Math behind Steel Division II.
Under construction.
Recon[ | ]
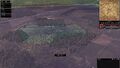
In order to kill the enemy, you need to first see the enemy. Recon is crucial in these situations, especially if you see the enemy from far away and gain the first strike. Below are a couple of screenshots comparing the different situations.

A lone tree in the middle of the field. Long lines of sight make it perfect for recon, less so for infantry or guns.

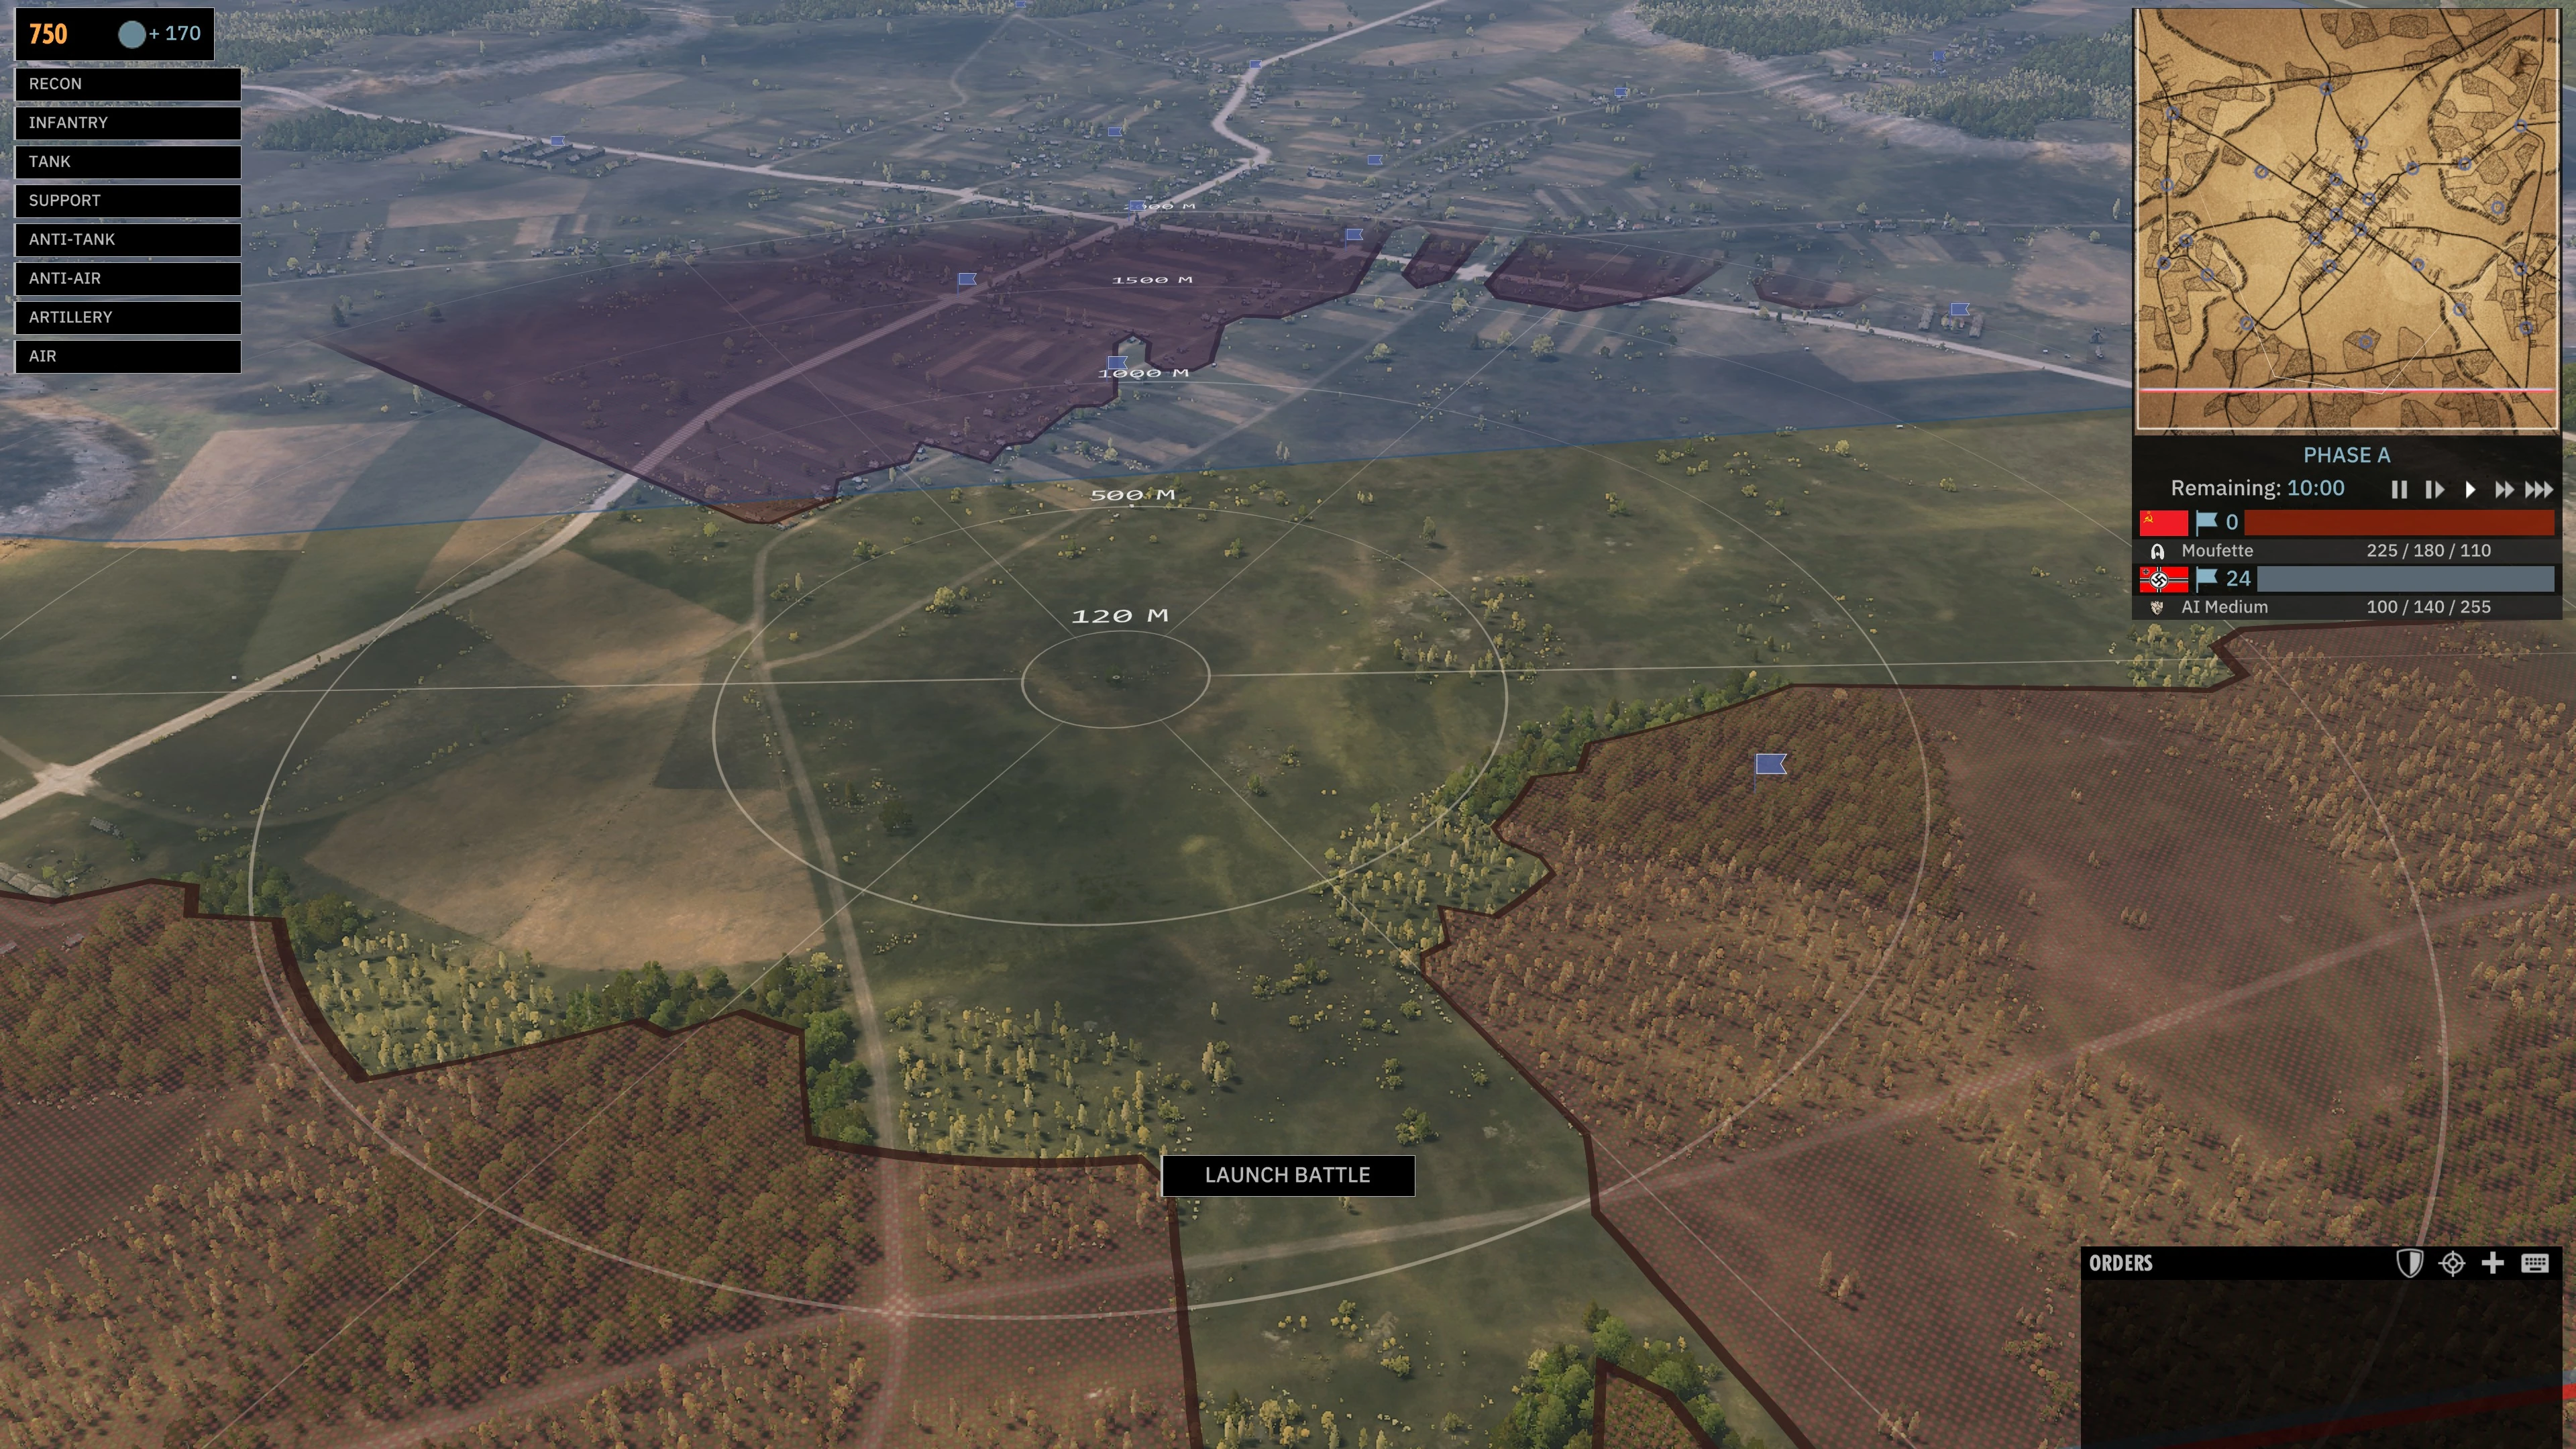
A built-up area. Blind spots persist, necessitating additional lookouts.
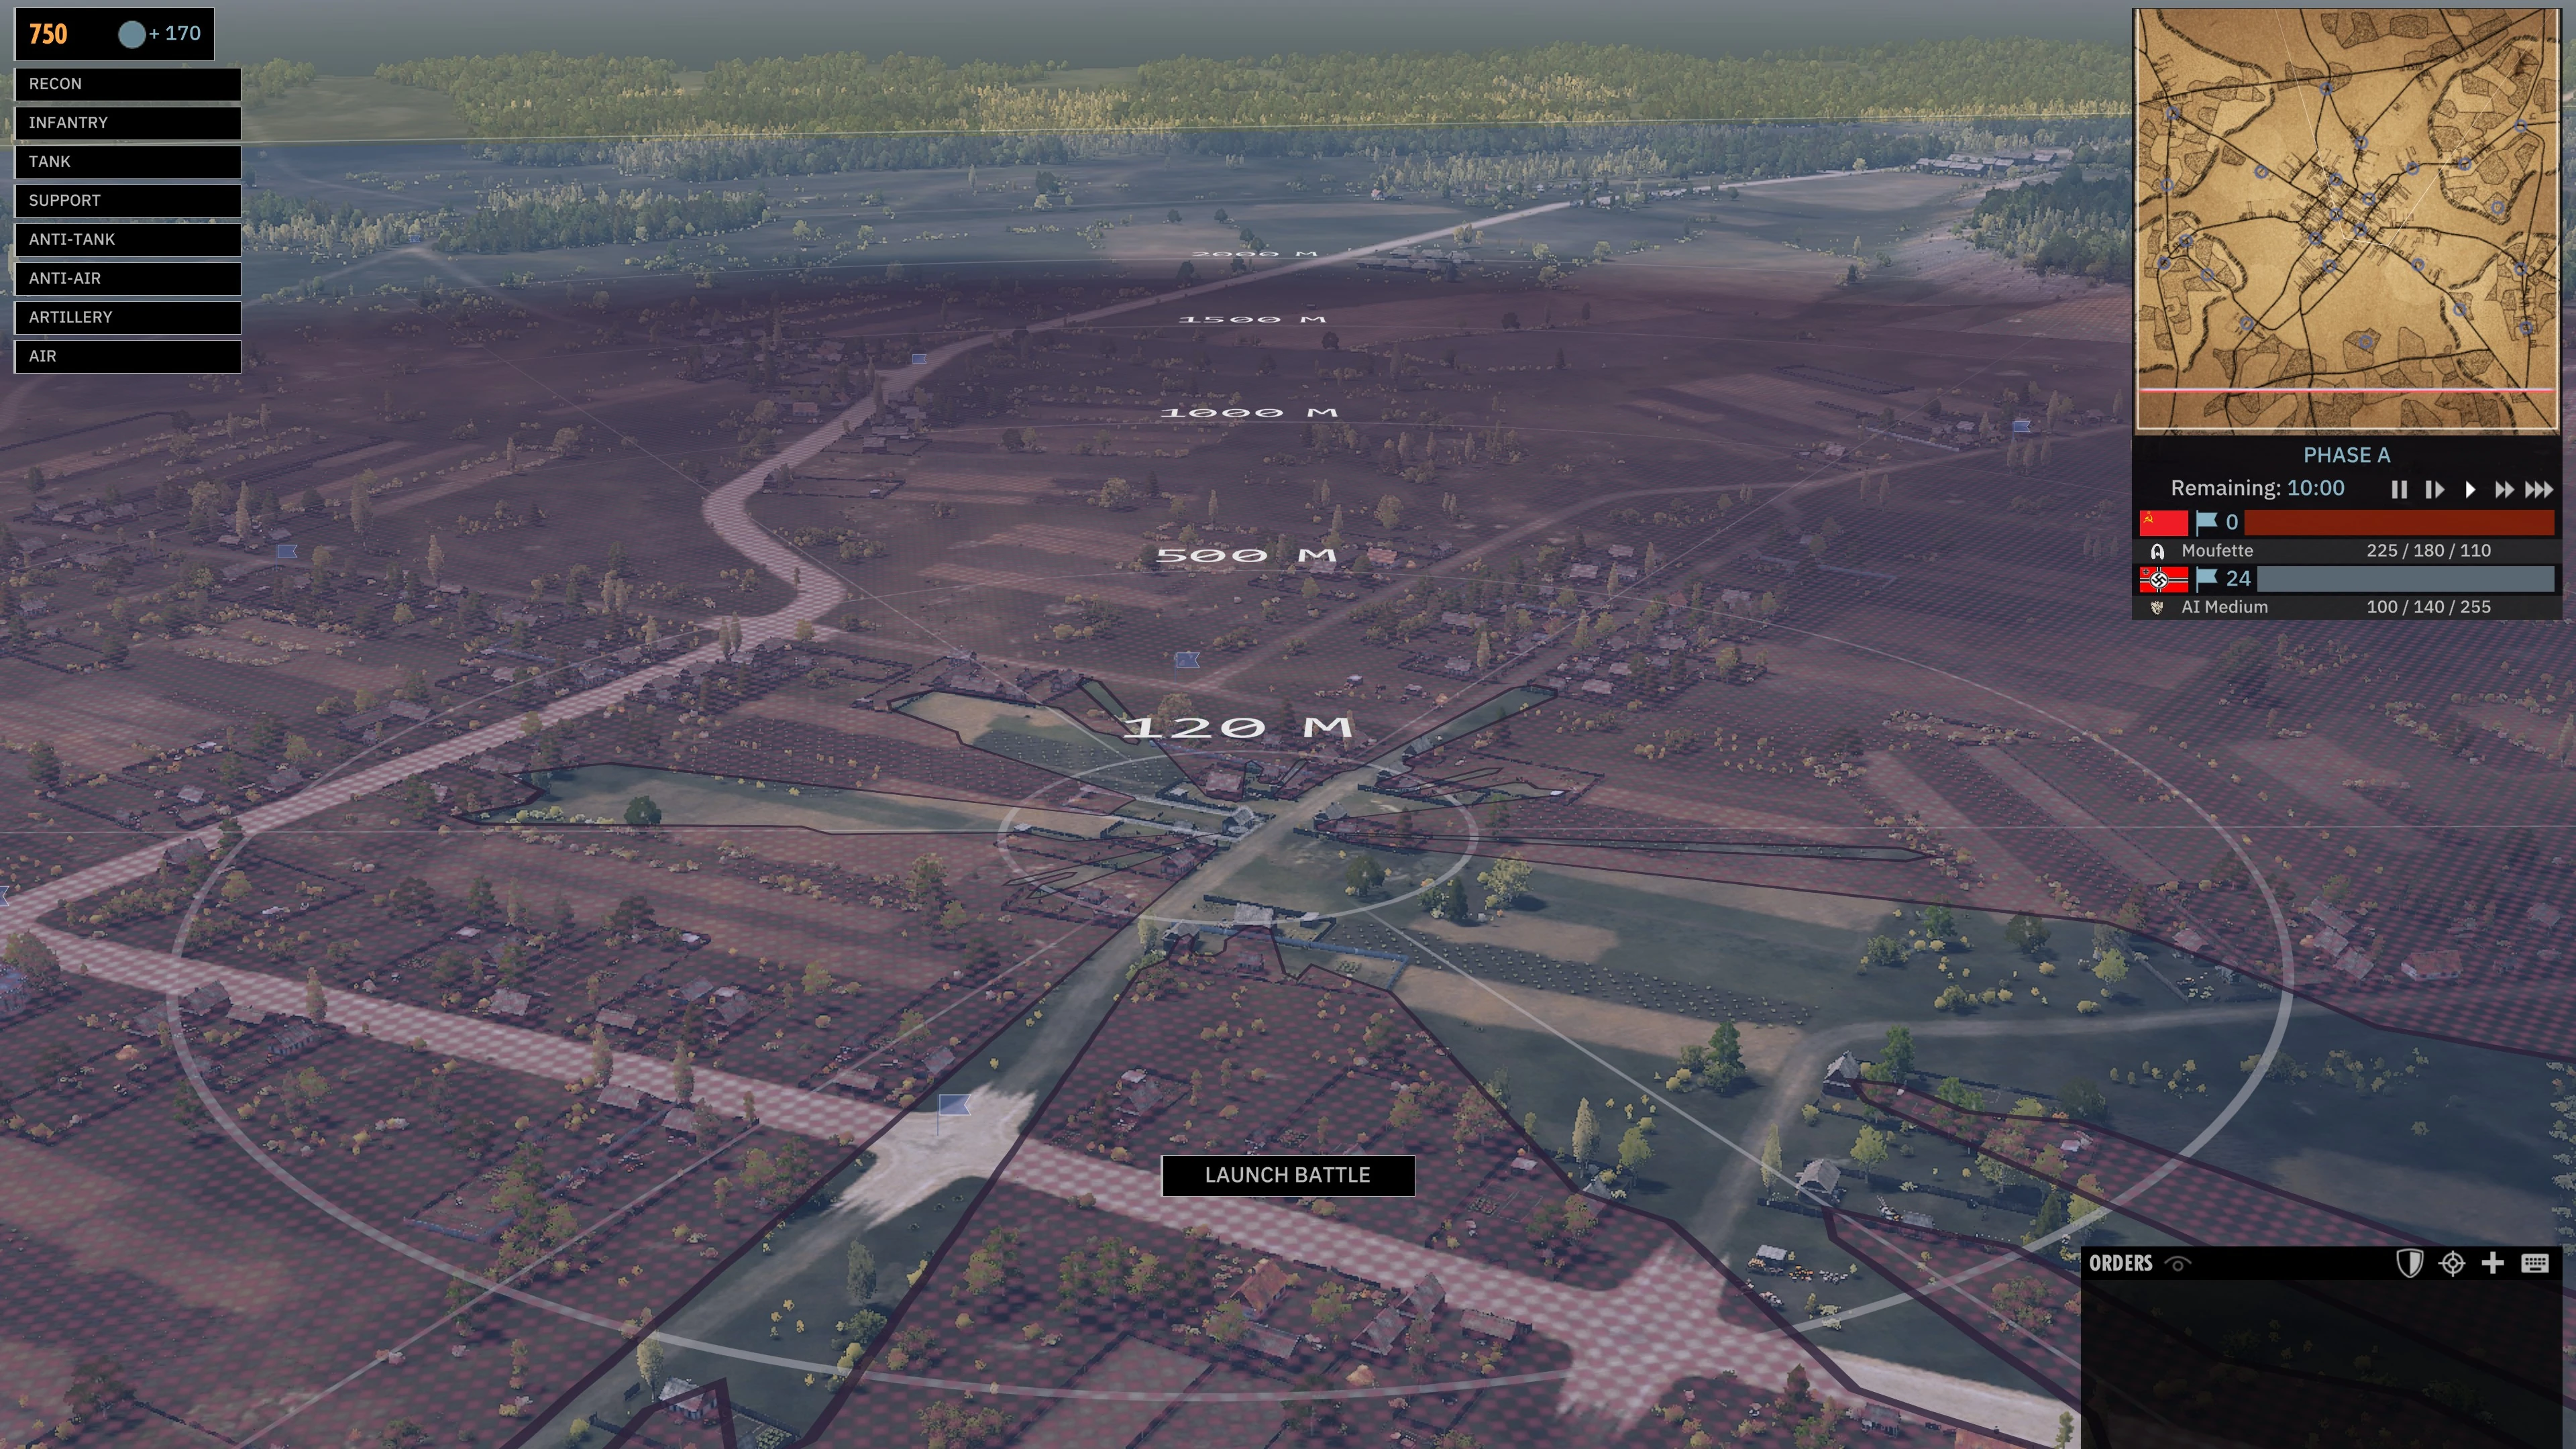
A clearing, with good cover on flanks.

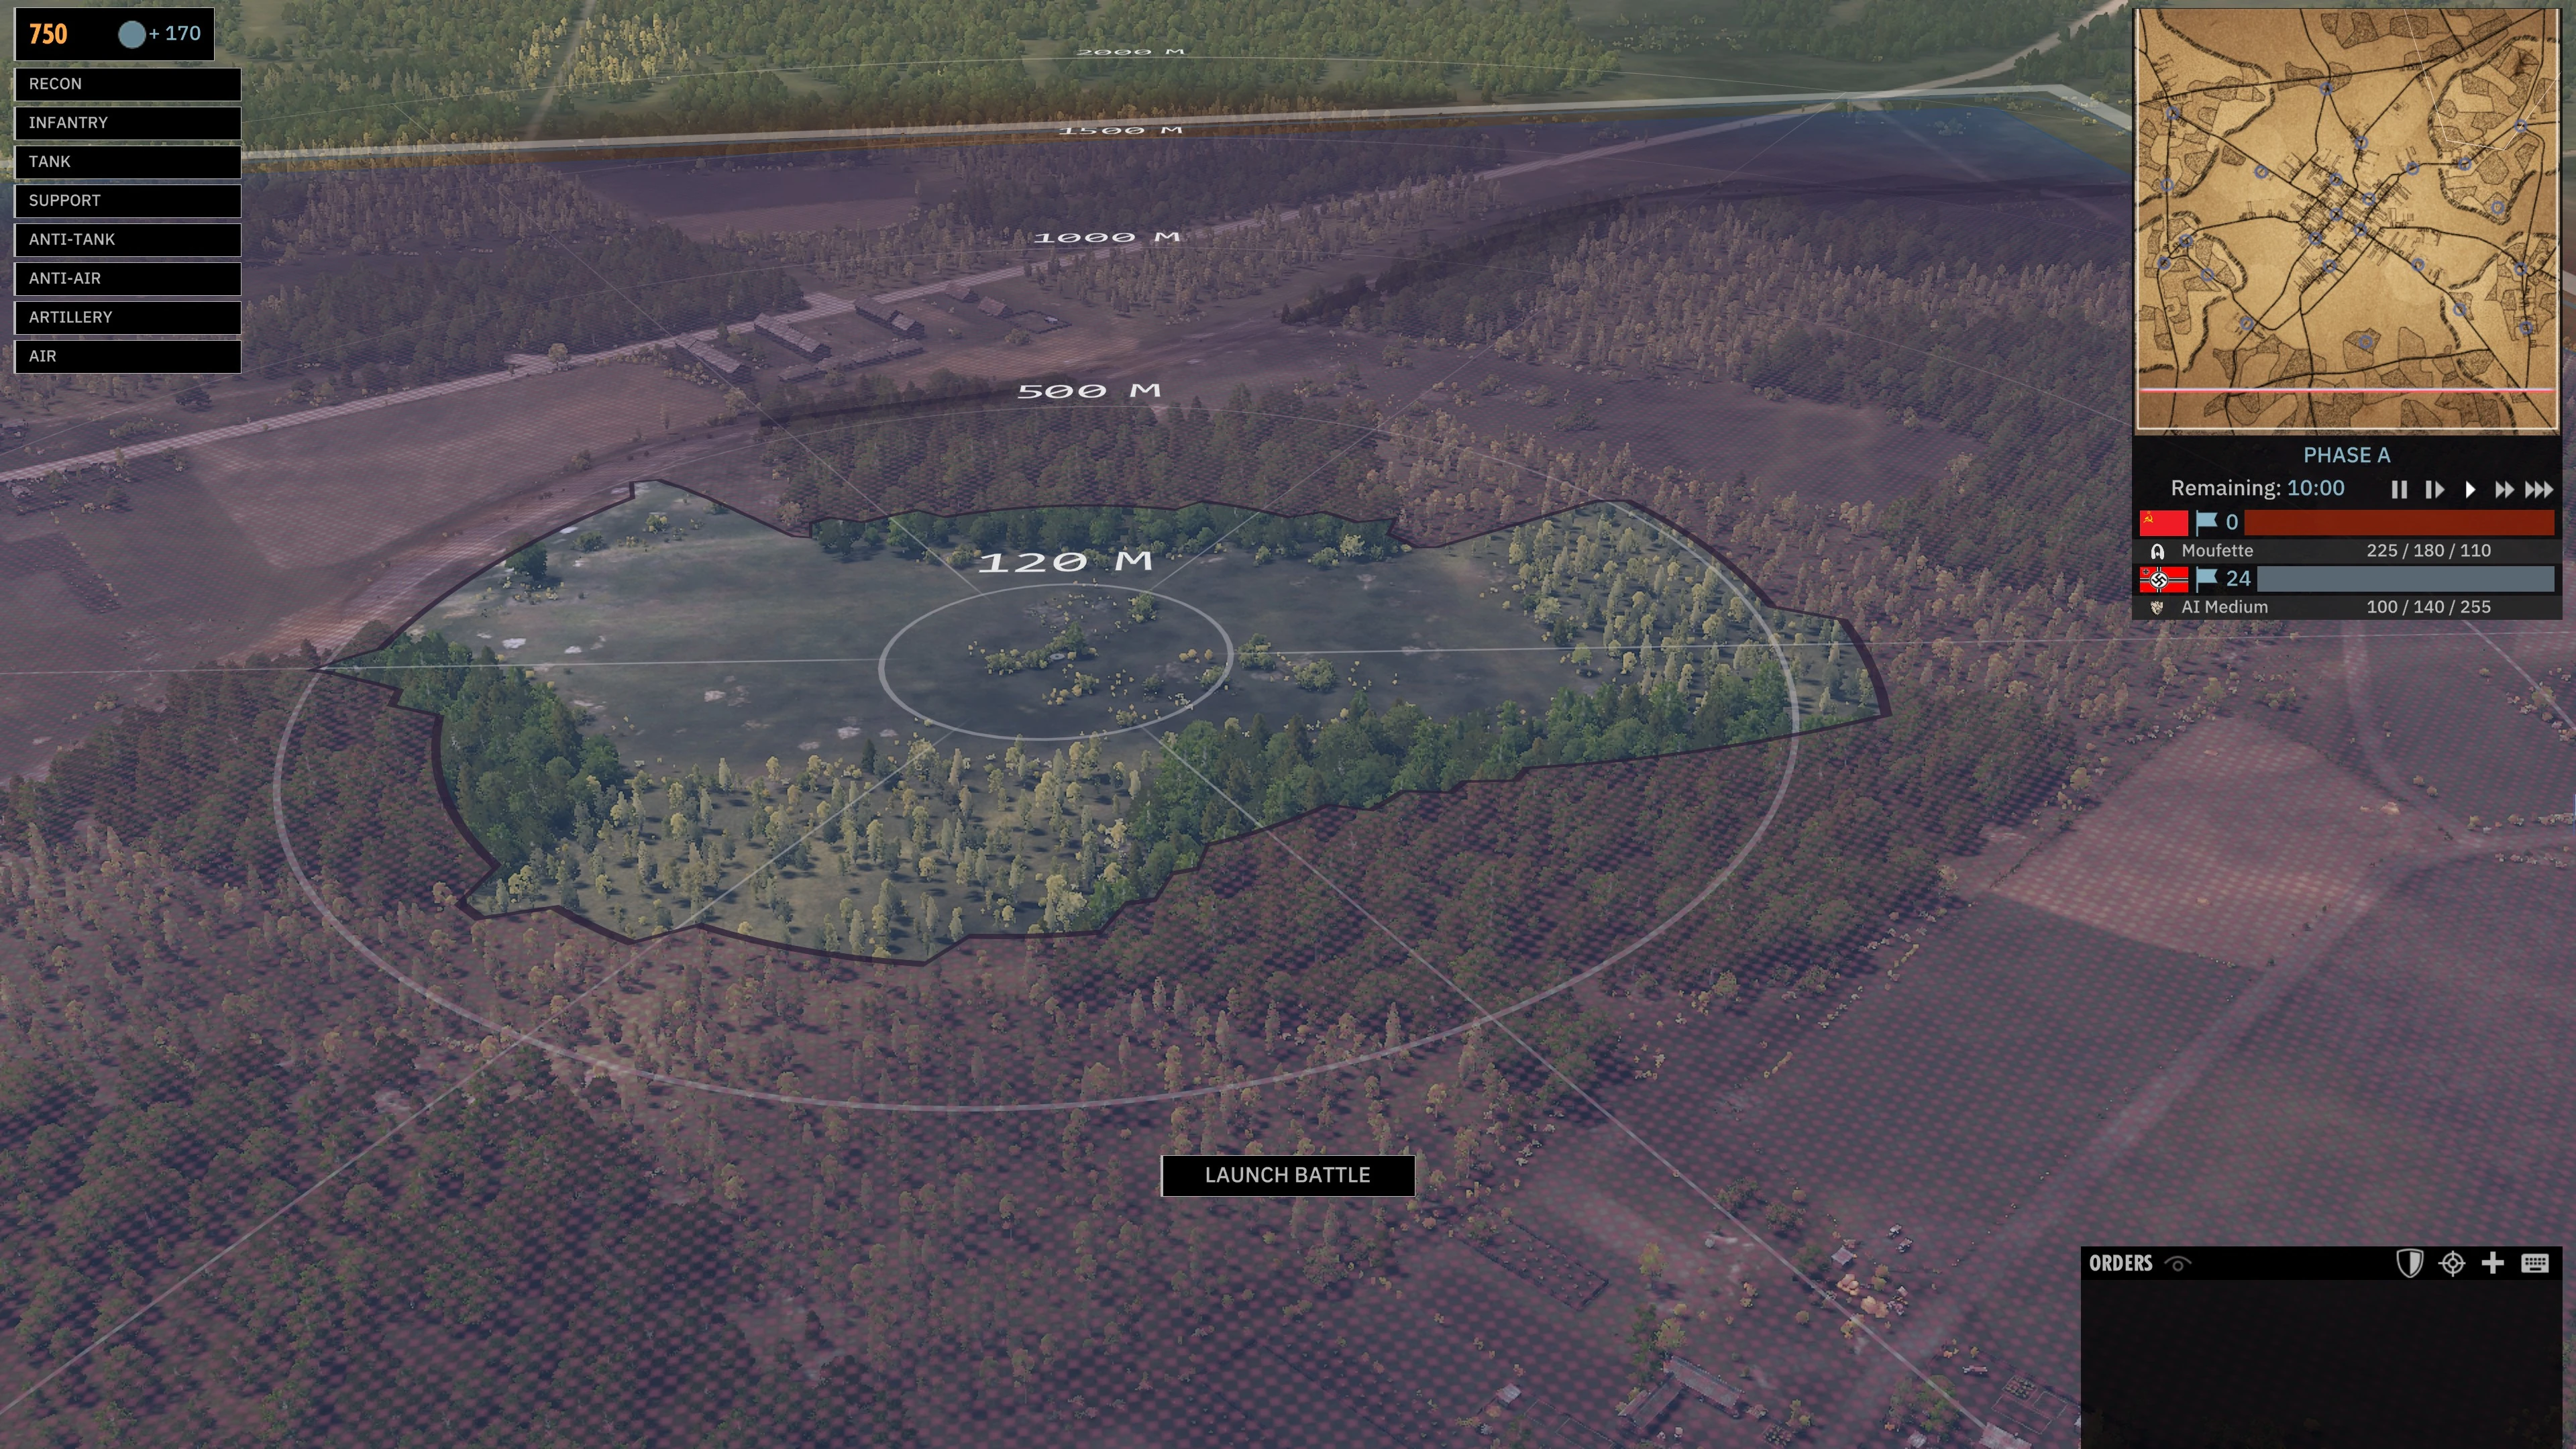
A woody, good for hiding most units. Removing them can be difficult.

Accuracy - Chance to Hit[ | ]
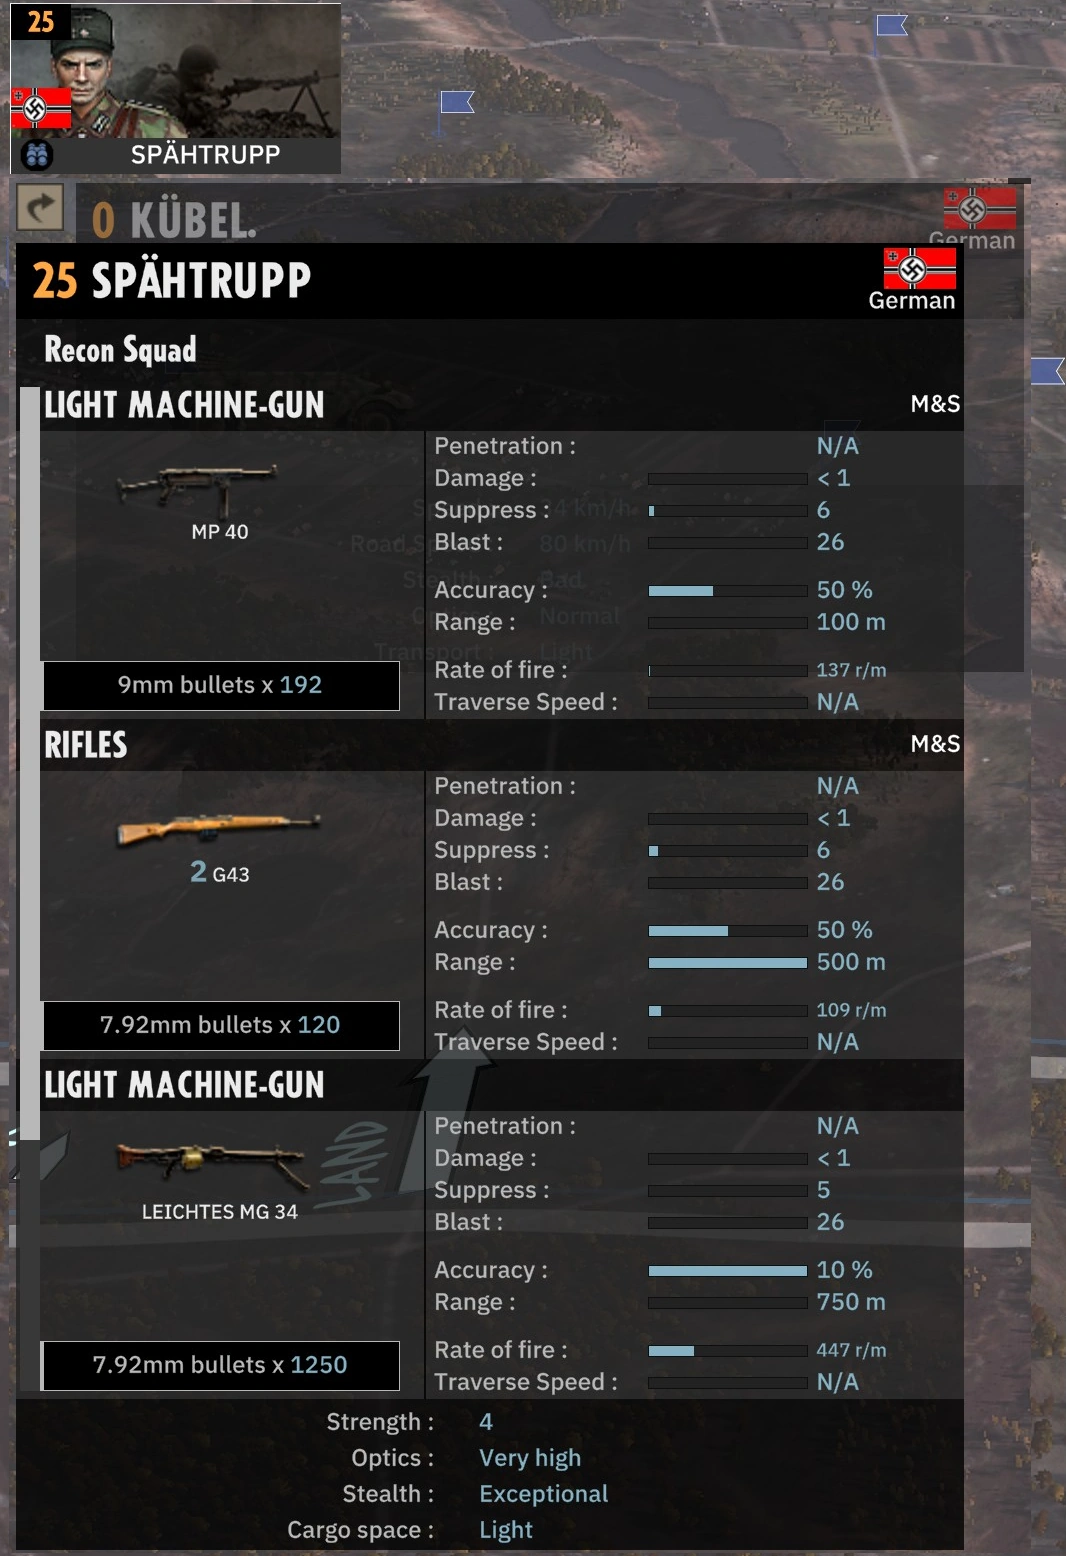
The unit information panel, showing a group of German Spahtruppen.
Steel Divisions II' accuracy system is inspired by its tabletop gaming origins and is based on rolling two 6-sided dice. (In short: 2d6)
In order to determine if a shot hits its intended target you need to follow these simple steps:
- Roll two 6-sided dice
- Add the accuracy stat of the shooting weapon to the result of your dice roll
- Add modifiers (ie stress or veterancy) if applicable - More on this later
- If the total sum is greater than 12 you score a hit, otherwise you miss your target.
TBD
Calculating the Chance to Hit[ | ]
TBD
Modifiers[ | ]
Ranging from -6 (shaken morale, firing at max weapon range) to +8 (close range, 3 stars of veterancy, third shot) or anywhere in between they can have a pretty big influence on the success of your shot.
- Distance to Target/Weapon Range:
The current distance to the target (Dst) divided by the maximum weapon range (Range) is used to determine the first modifier.
In short: Very long range shots result in an accuracy malus while short range shots give a bonus.
- Successive Shots: Successive shots at the same target grant an increasing accuracy bonus.
- Veterancy: Each level of veterancy grants a bonus.
- Stress/Morale: Stressed units get an accuracy malus.
Armor - Penetration and Bounces[ | ]
- Weapons are directed against targets and the effect of an attack entirely depends on the target type.
- Soft targets, namely infantry and crew-served weapons like mortars, anti-tank guns, and so on, have a specified Strength (see units for more details). This statistic indicates the number of soldiers in the squad or gun crew, representing its hit points, and eliminating the unit is a matter of bringing that number to zero. These can only be damaged by weapons dealing high explosive damage.
- Hard targets are vehicles and have their own damage system and can be damaged by both high explosive and armor piercing weapons. Armored vehicles, like halftracks, armored cars, and of course tanks, are resistant to high explosive damage. As stated above, a weapon's armor piercing value needs to be higher than the target's armor in order to have a chance to penetrate (for example, a QF 2-pdr will generally bounce off a Panther's frontal armor, since it has 8 AP vs. Armor 12).
- However, while the anti-tank round may bounce off it, it might also stun the crew or injure one of its members. If an anti-tank round pierces through a tank's armour, it might destroy it on the spot or cause a status effect, like damage to the engine (stopping it), transmission (slowing it down to a crawl), or other effects.
- These include: Ammo explosion, fuel explosion, crew killed, transmission damaged, engine destroyed, weapon damaged, tracks broken, shooter knocked out, driver knocked out. Some effects clear up in time, other are permanent until repaired by a Supply Vehicle.
- Maneuvering and position is vitally important when facing down armored threats. Tanks are usually thickly armored in the front, with thinner sides and a weak rear. In the Panther's example, that 2-pdr could cause some major damage when hitting it from the flank, as a Panther only has 5 Armor on the side.
- Infantry equipped with grenades can deal major damage to open-topped vehicles if it gets close enough (provided it does not have anti-tank launchers that are extremely effective thanks to their HEAT warheads).
Kills and Critical Hits[ | ]
Overview[ | ]
Criticals[ | ]
Aircraft[ | ]
| Message | Effect |
|---|---|
| Wing ripped off | |
| Elevator ripped off | |
| Engine on fire | |
| Fuel tank on fire | |
| Pilot killed | |
| Pilot injured | |
| Weapons jammed | Direct-fire weapons disabled for the duration of the effect |
| Bomb bay blocked | |
| Pilot unconscious | Aircraft does not respond to commands for the duration of the effect |
| Radio destroyed | |
| Engine damaged | |
| Pilot panicked | Aircraft immediately evacuates |
| Fuel leak | Aircraft's Time-Over-Target (the time it's present on the map before it has to refuel) is reduced |
| Oil leak, sight obstructed | Aircraft's direct-fire accuracy is reduced |
| Propeller damaged | Aircraft's speed is reduced |
| Radiator damaged | |
| Engine overheating | |
| Landing gear damaged | |
| Fuel tank damaged | |
| Pilot black veil | |
| Wing damaged | |
| Engine stalling | |
| Float carburator failure | |
| Fuel tank leaking | |
| Aileron damage | Aircraft's maneuverability is reduced |
| Radiator overheating | |
| Tail damaged | |
| Rudder damaged | |
| Elevator damaged |
Ground vehicles[ | ]
| Message | Effect |
|---|---|
| Tracks broken | Vehicle immobilized until repaired |
| Wheel damaged | |
| Weapon damaged | |
| Turret stuck | Turret cannot rotate, must aim with whole vehicle |
| Gun jammed | Weapon cannot fire |
| Shooter killed | Weapon cannot fire (for a duration) |
| Loader killed | Greatly increased reload time |
| Driver killed | Vehicle immobilized (for a duration) |
| Sight damaged | Vehicle's main weapon accuracy is reduced |
| Loader wounded | Increased reload time |
| Incendiary | |
| Spalling | |
| Engine stall | |
| Crew panicked | Unit stops responding to commands and retreats |
HP Point System[ | ]
if you see a Unit die with out one of the above messages it died through falling on 0 hp
Damage for each gun[ | ]
Hit Points for each Vehicle[ | ]
8 HP for Light Tanks and Armoured Cars (e.g., M8 Greyhound, Sdkfz. 234, BT-7)
10 HP for Medium Tanks (e.g., Sherman, Cromwell, StuG, T-34)
12 HP for Heavy Tanks (e.g., King Tiger, IS-2)
Effects of Veterancy[ | ]
TBD
Chain of Command Mechanics[ | ]
Battalion Commanders provide +2 experience to all units in their radius. They can also provide this experience boost to any company leaders in their command range, who in turn relay the bonus to units in their radius. Additionally these leaders can in turn relay this experience boost to other leaders.
This boost is applied to any leader within 1500 meters of the battalion commander or within 1000 meters of any other leader already integrated into the network.
Note that this radio link is depicted on map by a solid yellow line between the two leaders. If this line is greyed out, one leader is out of range of the network. The range limit of the link is depicted by a solid line across the link between the two leaders.