Bobruisk is the third campaign in the Army General mode in Steel Division II. It has a level 1 difficulty/complexity.
Briefing[ | ]
Surrounded behind enemy lines, remnants of several German division trapped attempts a breakout to reach friendly lines. At the same time, the Soviets are pushing their spearheads as fast as possible to cordon the garrison inside the pocket.
Three days after the Soviet First Bielorussian Front unleashed its attack, the right wing of the German Army Group Center was forced back and surrounded in Bobruisk, including the Army Group's only Panzerdivision.
Although there was no hope of relieving the trapped units from the outside, Hitler forbade the garrison to abandon place and attemp a breakout of its own.
After several counter-orders from Army Group Center, the breakout is finally set in motion in the first hours of June 27th: what remained of 20. Panzerdivision would lead the way toward Minsk, while scratch units and the first elements from 12. Panzerdivision arriving as reinforcements would try to advance South to meet them.
Meanwhile, the Soviet troops surrounding Bobruisk will try their best not to let their prey escape ...
Intro[ | ]
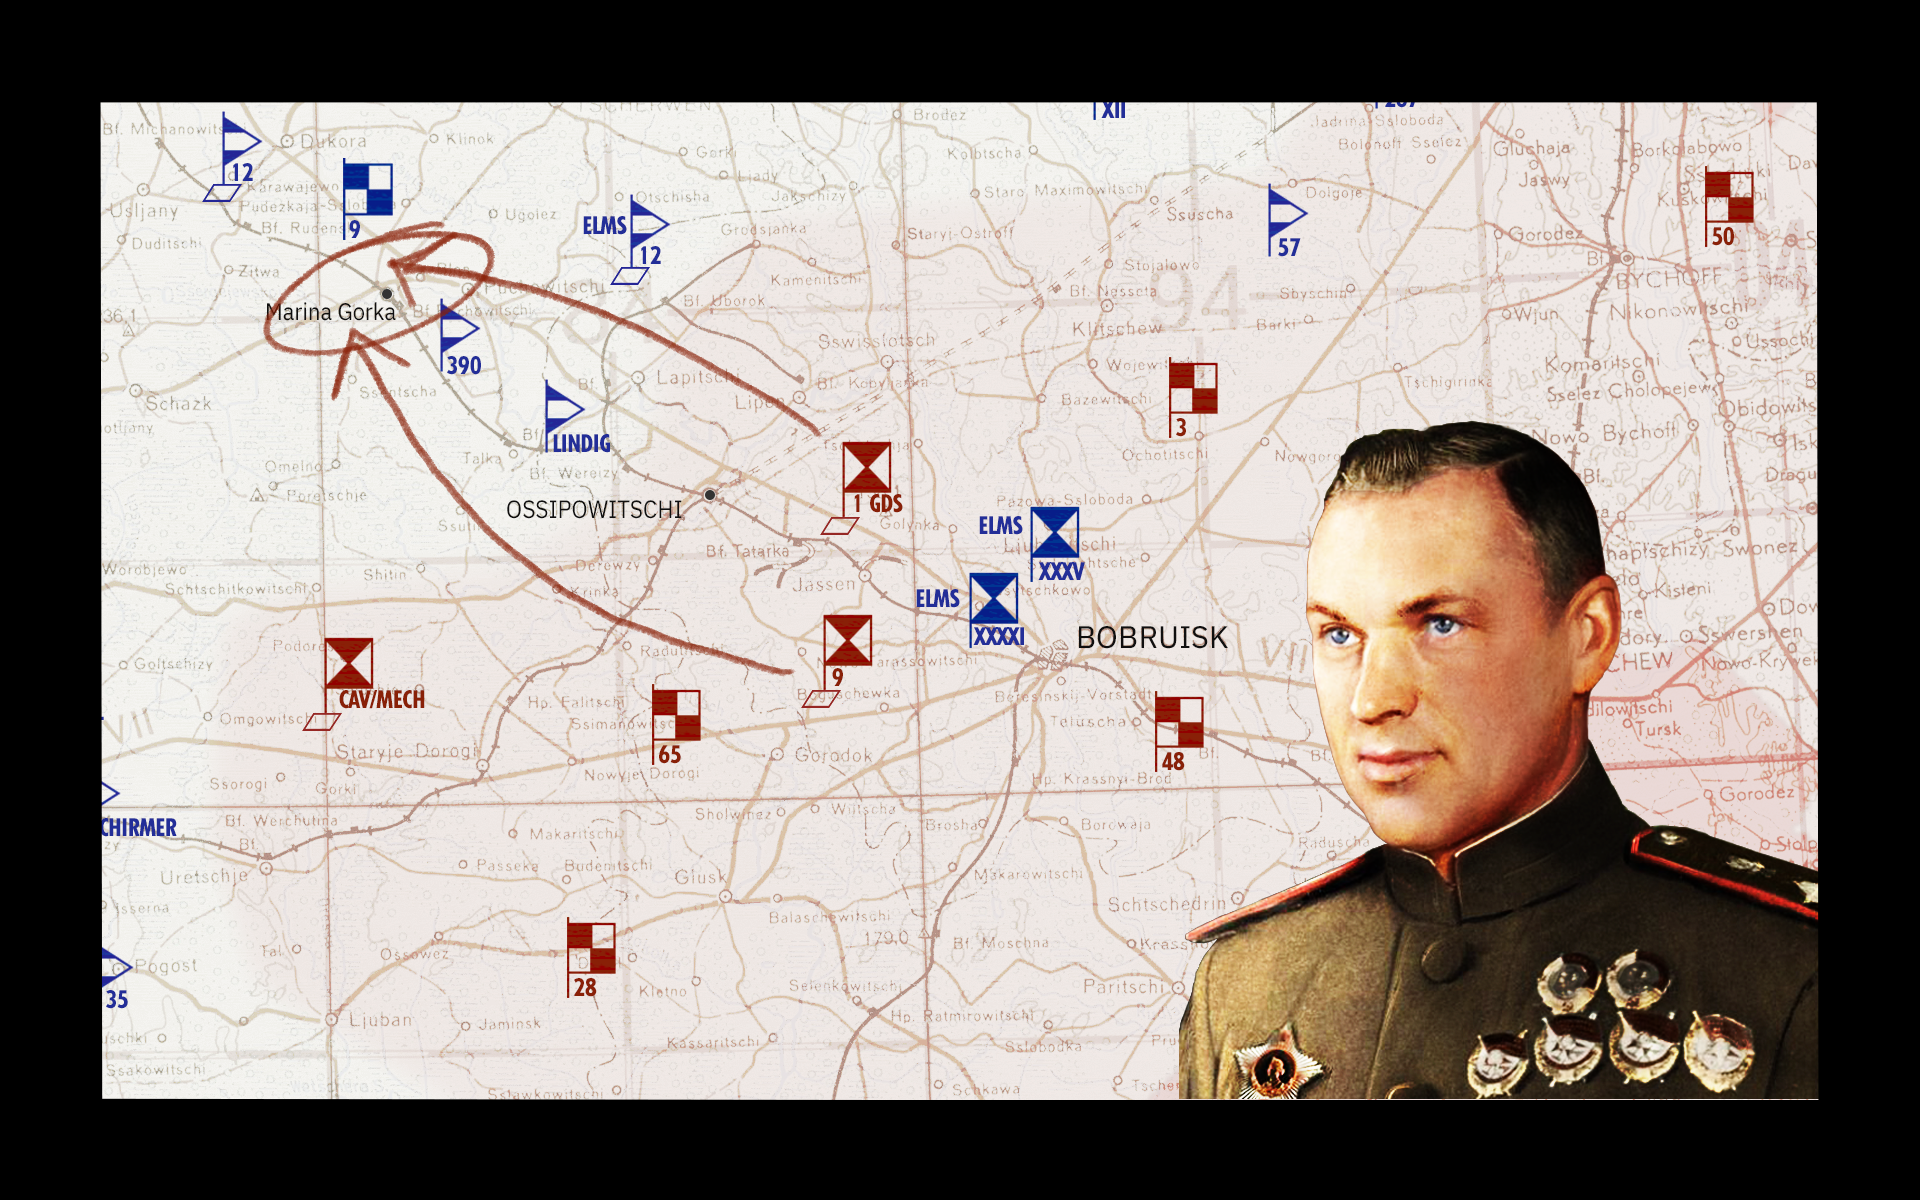
The 1st Belorussian Front's offensive against the southern flank of Army Group Center has broken through the German lines on both sides of Bobruisk. Remnants from the 35. Korps and 41. Panzerkorps are surrounded within the city. When Hitler finally authorized the garrison to attempt to break out and return to friendly lines, the frontline had moved 40 km, held only by a weak screen of security units. However, the Germans have dispatched the 12. Panzerdivision piecemeal to Marina Gorka to meet the Bobruiskers halfway. The Soviet's 9th Tank Corps and 1st Guards Tank Corps are doing their best to reinforce their thin cordon of troops who intend to to keep the Germans encircled.


- Soviet orders
Your objective is to capture and hold Marina Gorka in order to completely seal the pocket and deny the fascists any possibility to save the Bobruisk's garrison. Beware of the latter: Even mauled, 20. Panzer still has claws and might attempt a breakout in your rear.


- German orders
Your task is to coordinate both forces to extract as many Bobruiskers as possible from the pocket. Yet keep in mind that your primary objective is to hold Marina Gorka at all costs. Bobruisk is to be held until the garrison has been entirely evacuated.

Historical outcome[ | ]
Spearheaded by the 20. Panzer division, the lead Bobruiskers managed to grab the 12. Panzer's helping hand from outside the pocket, thus saving a few thousand men from captivity. But the abandonment of Minsk and threat of being itself surrounded led to Gruppe Lindig being pulled back less than a day after linking up with the 20. Panzer, leaving the remaining Bobruiskers to their fate. While Kampfgruppe von Saucken fell back east of Minsk, and Gruppe Lindig toward Baranovichi, the worn-out 4. Armee was left to its own devices. Forced to retreat for days, under constant attack by Soviet air power and partisans, and pursued by Red Army mobile units, out of supply and lacking its heavy equipment, the 4. Armee was destroyed and ceased to exist. And with it, about 100,000 men were forever lost by the Wehrmacht.
Objectives[ | ]

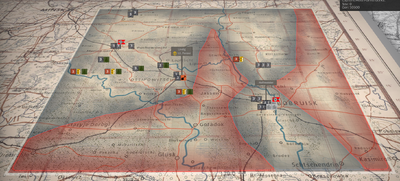
The beginning setup.
- Hold Marina Gorka until July 4th (Soviets have to take it).
- Airfields are located at Ljady, to the northwest (German) and at Nowgorodok (directly northeast of Bobruisk). It's very easy to knock out the Soviet air support for the Axis player, within two turns, granting a definitive advantage in the scenario early on. In general, beyond that it's a matter of playing for time and forcing the Soviet player to divide up their forces between Bobruisk and Marina Gorka. The initial positioning is disadvantageous, but allows for quickly cutting off the central salient at the base with decisive movements, which will deprive the Soviets of supply and eventually make them surrender piecemeal.
- The Soviet player has a more difficult task, since they need to connect their two forces and surround Bobruisk, while also making headway towards Gorka. One good tactic is to envelop the retreating initial German force, denying them supply, and then start sending troops north, towards Tscherwen and then Gorka (for the objective) and Ljady (to knock out Nazi air support). Getting tied down in attrition is a poor choice, as there's no real need to destroy the enemy physically - denying them supply is far more effective. Partisans aren't of much combat value, but they can be used to keep tabs on enemy movements and block roads from Gorka to Jassen and Bobruisk, delaying German reinforcements.
- In general, the Gorka troops are vulnerable to encirclement along the southern road, since it's easy to leave it undefended. Seizing and defending river crossings is perhaps the most important move to make, to avoid the vulnerable evacuation route from being overrun.
Events[ | ]
- Morning June 29, 1944 (2): Generalfeldmarshall Busch is relieved of his command. Generalfeldmarschall Model replaces him.
- Evening June 29 (3): Soviet troops have crossed the Berezina north of Minsk.
- Morning July 1 (6): German troops evacuate Minsk.

Mogilev falls to Soviet troops
Model arrives
Berezina crossing
Evacuation of Minsk


Reich[ | ]
- Morning June 29 (2): Panzergruppe is available with 12. Panzer division.
- Evening June 29 (3): 383. Infanterie-Division is ready to leave Bobruisk. These are the last troops to attempt the breakout.
- July 2 (8): 12. Panzer is arriving piecemeal. Hold on for three more days, and we may be able to save the 4. Armee.
- July 3 (10): The 4. Armee is crossing the Berezina. Hold on to Marina a few more days to allow their escape.
- July 4 (12): Give us 24 hours more, and we'll save the 4. Armee.
- Victory: By holding Marina Gorka, the Germans have allowed both some Bobruiskers to reach safety, and the 4. Armee behind it to slip through the Soviet jaws.
Soviet[ | ]
- June 29th: 36th Gds. Ind. Hvy. Tank Regiment is available with 9th Tank Corps.
- July 2 (8): Speed is paramount to this operation: Marina Gorka must be secured by June 4th PM.
- July 3 (10): Hurry up, comrade, only 48 hours left to secure the objective.
- July 4 (12): Stavka is expressing severe doubts concerning your ability to capture Marina Gorka by tonight, as was the plan.
- Victory: With Marina Gorka in Soviet hands, those Bobruiskers remaining in the pocket are trapped and forced to lay down their arms.
Order of battle[ | ]
Reinforcements[ | ]
Soviet[ | ]
- Evening June 28 (start):
- 23-ya Tank. Brig. (9th Tank Corps, 25)
- Morning June 29
- 1-ya Gv. MSBr (1st Guards Tank Corps, 30)
- 247-y Strelk. Polk (37th Rifle Division, 20)
- 95-ya Tank. Brig. (9th Tank Corps, 25)
- Reserve (9th Tank Corps, 10)
- Evening June 29
- 17-ya Gv. Tank. Brig (1st Guards Tank Corps, 30)
- 91-y Strelk. Polk (37th Rifle Division, 20)
- Reserve (9th Tank Corps, 15)
- Morning June 30
- Reserve (1st Guards Tank Corps, 15)
- Reserve (37th Rifle Division, 20)
German[ | ]
- Morning June 28 (start)
- Pionier-Abt. 268 (Gruppe Lindig, 5)
- 36. Infanterie-Div (Gruppe Hoffmeister, 20)
- Evening June 28 (1)
- I,/Sich.-Rgt. 96 (Gruppe Lindig, 10)
- 45. Infanterie-Div (Gruppe Hoffmeister, 20)
- Pz.Grenadier-Rgt. 25 (12. Panzer, 20)
- Morning June 29 (2)
- Gruppe Meinecke (Gruppe Lindig, 5)
- Garrison (Gruppe Hoffmeister, 10)
- Panzergruppe (12. Panzer, 25)
- Pz.Grenadier-Rgt. 5 (12. Panzer, 20)
- Evening June 29 (3)
- 383. Infanterie-Div (Gruppe Hoffmeister, 15)
- 12. Panzerdiv (12. Panzer, 10)