(Created page with "''{{gamename}}'' features several maps for multiplayer use, each with its own, distinct set of challenges to overcome. ==List of maps== *Bois de Limors *Carpiquet *...") |
m (→List of maps) |
||
| (10 intermediate revisions by 2 users not shown) | |||
| Line 1: | Line 1: | ||
| − | ''{{gamename}}'' features several maps for multiplayer use, each with its own, distinct set of challenges to overcome. |
+ | ''{{gamename}}'' features several maps for multiplayer use, each with its own, distinct set of challenges to overcome. A roughly historical order of maps is as follows: |
| + | |||
| + | :[[Omaha]]/[[Colleville]]/[[Pointe du Hoc]] → [[Pegasus Bridge]] → [[Caumont L'Eventé]] → [[Merderet]] → [[Cote 112]]/[[Cheux]] → [[Carpiquet]] → [[Odon]] → [[Colombelles]] → [[Mont Ormel]] |
||
==List of maps== |
==List of maps== |
||
| + | {|class="wikitable" |
||
| ⚫ | |||
| + | ! Map |
||
| ⚫ | |||
| + | ! Minimap |
||
| ⚫ | |||
| + | ! Environment |
||
| − | *[[Cheux]] |
||
| + | ! Notes |
||
| − | *[[Colleville]] |
||
| + | |- |
||
| − | *[[Colombelles]] |
||
| + | ! {{ficon|overview bois de limors.png|Bois de Limors}} |
||
| − | *[[Cote 112]] |
||
| ⚫ | |||
| − | *[[Merderet]] |
||
| + | | |
||
| − | *[[Mont Ormel]] |
||
| + | | |
||
| − | *[[Odon]] |
||
| + | |- |
||
| − | *[[Omaha]] |
||
| + | ! {{ficon|overview carpiquet.png|Carpiquet}} |
||
| ⚫ | |||
| + | |[[File:Carpiquet top.jpg|center|300px]] |
||
| − | *[[Pointe du Hoc]] |
||
| + | |Generally open map with a centrally-positioned airfield. |
||
| ⚫ | |||
| + | | |
||
| + | |- |
||
| ⚫ | |||
| + | ![[File:Carpiquet - Duellist 2v23v3.jpg|frameless]] |
||
| + | ! |
||
| + | ! |
||
| + | |- |
||
| + | ! {{ficon|overview caumont l evente.png|Caumont L'Eventé}} |
||
| ⚫ | |||
| + | |Wide open spaces bracketed by forests. |
||
| + | | |
||
| + | |- |
||
| + | ! {{ficon|overview cheux.png|Cheux}} |
||
| + | |[[File:Cheux4v4.jpg|frameless]] |
||
| + | | |
||
| + | | |
||
| + | |- |
||
| + | ! {{ficon|overview colleville.png|Colleville}} |
||
| + | | [[File:colleville.png|center|300px]] |
||
| + | |Map is characterized by 2 small villages and small fields encircled by hedgerows. |
||
| + | | |
||
| + | |- |
||
| + | ! {{ficon|overview colombelles.png|Colombelles}} |
||
| + | |[[File:SteelDivision-DirectX-11-Release-C-64-Bits_3.jpg|center|300px]] |
||
| + | |Mixed map, with heavily urban, industrial areas and rather open fields. |
||
| + | | |
||
| + | |- |
||
| + | ! {{ficon|overview opepsom cote112.png|Cote 112}} |
||
| + | |[[File:Cote 112 4v4.jpg|frameless]] |
||
| + | |A hill with several levels of elevation. |
||
| + | | |
||
| + | |- |
||
| + | ! {{ficon|overview villers bocage.png|Merderet}} |
||
| + | |[[File:Merderet 2v23v3.jpg|frameless]] |
||
| + | | |
||
| + | |Just 1v1 and |
||
| + | 2v2/3v3 |
||
| − | [[Category:Battlefields| ]] |
||
| + | |- |
||
| + | ! {{ficon|overview mont ormel.png|Mont Ormel}} |
||
| + | | |
||
| + | [[File:mont_ormel_1.png|center|300px]] |
||
| + | |Everything from open fields, hedgerows and small villages |
||
| + | | |
||
| + | |- |
||
| + | ! {{ficon|overview odon.png|Odon}} |
||
| + | |[[File:Odon 4v4.jpg|frameless]] |
||
| + | |Large, forested map bisected by a river |
||
| + | |1v1 and 2v2/3v3 don't include the river |
||
| + | |- |
||
| + | !Odon River |
||
| + | ![[File:Odon - River 2v23v3.jpg|frameless]] |
||
| + | ! |
||
| + | !Just 1v2 and 2v2/3v3 |
||
| + | split by the river like Odon 4v4 |
||
| + | |- |
||
| + | ! {{ficon|overview omaha.png|Omaha}} |
||
| + | |[[File:Omaha top.jpg|center|300px]] |
||
| + | |Sadly not that much fight at the beach but more hedgerow hell. |
||
| + | | |
||
| + | |- |
||
| + | ! {{ficon|overview pegasus bridge.png|Pegasus Bridge}} |
||
| ⚫ | |||
| + | | |
||
| + | | |
||
| + | |- |
||
| + | ! {{ficon|overview pointe du hoc.png|Pointe du Hoc}} |
||
| + | | [[File:Pointe-du-Hoc.jpg|center|300px]] |
||
| + | |Small fields a Village and hedgerows, not much more. |
||
| + | | |
||
| + | |- |
||
| + | ! {{ficon|overview sainte mere eglise.png|Sainte-Mère-Eglise}} |
||
| + | |[[File:Saint-Mére-Eglise 2v23v3.jpg|frameless]] |
||
| + | | |
||
| + | | |
||
| + | |- |
||
| ⚫ | |||
| + | ![[File:Saint-Mère-Eglise - Duellists 2v23v3.jpg|frameless]] |
||
| + | ! |
||
| + | ! |
||
| + | |- |
||
| + | |} |
||
| + | [[Category:Steel Division: Normandy 44 battlefields| ]] |
||
Latest revision as of 07:27, 8 July 2019
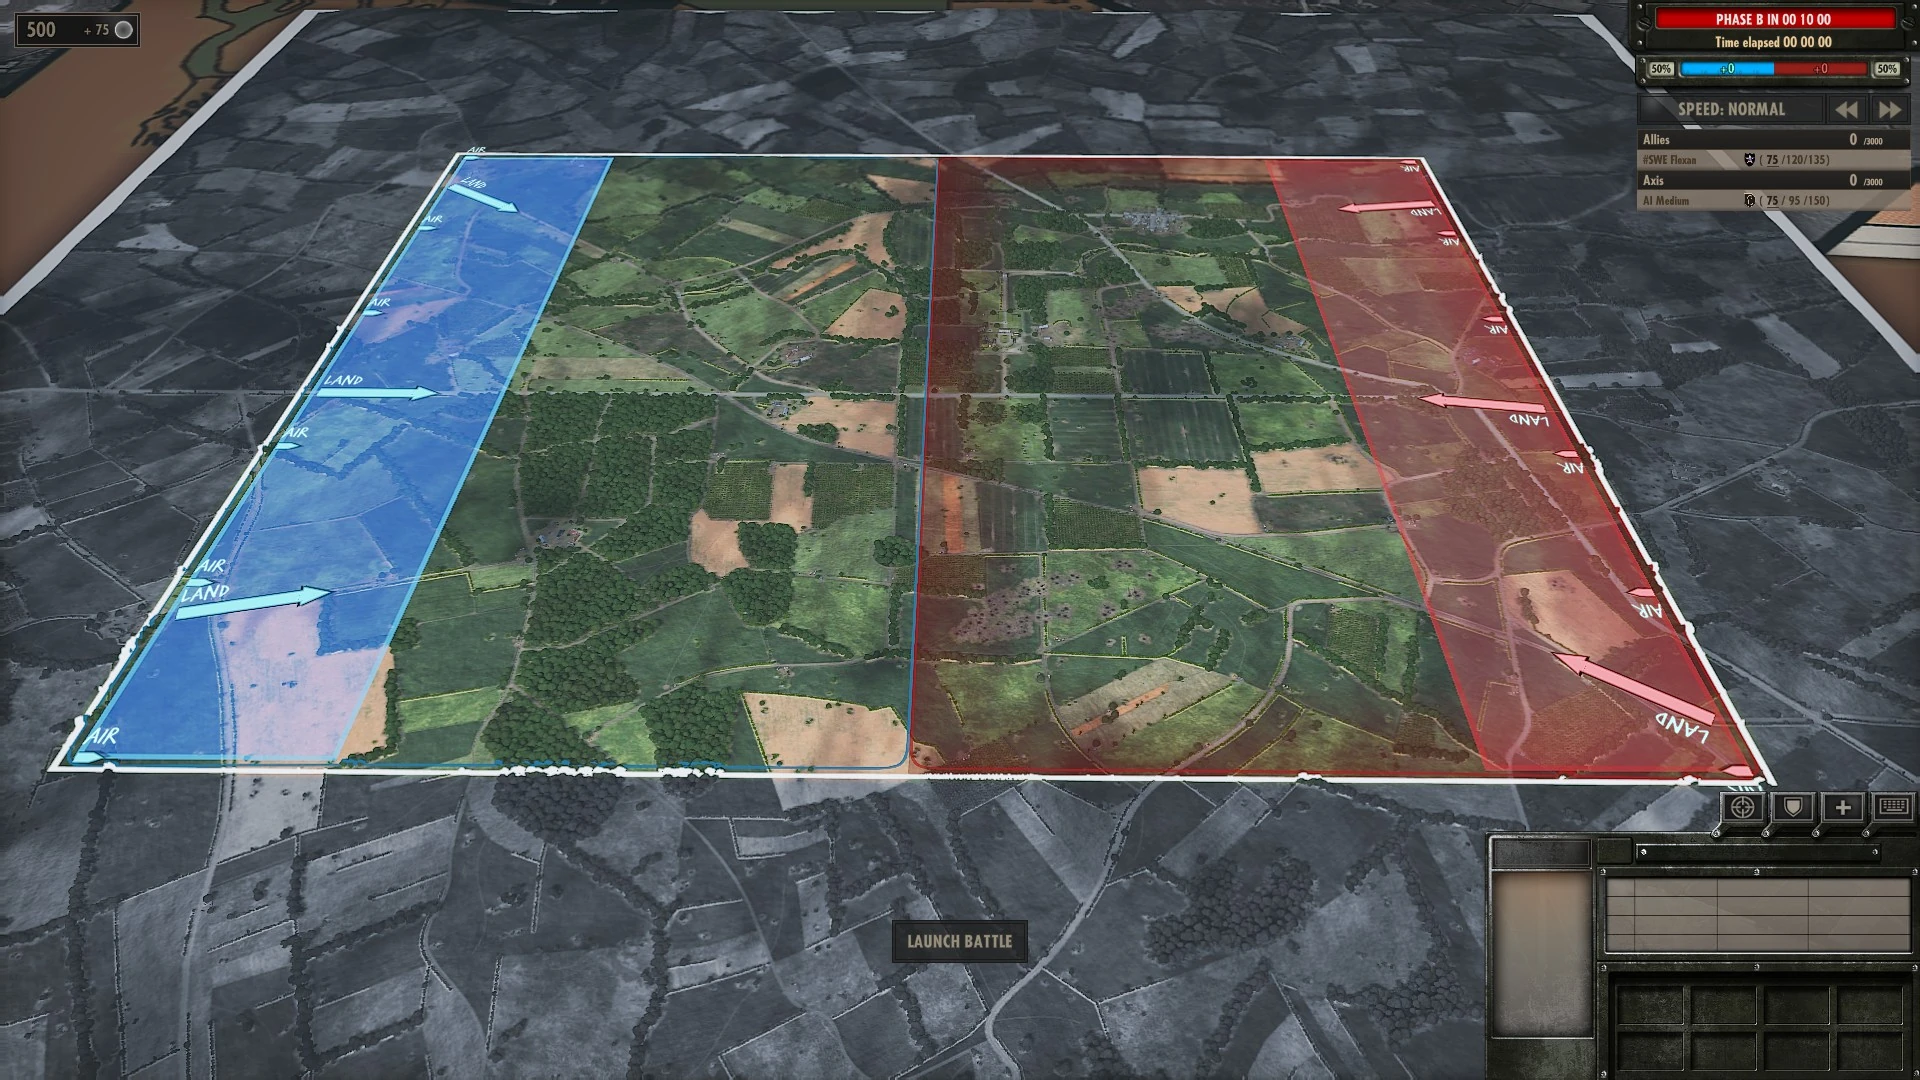
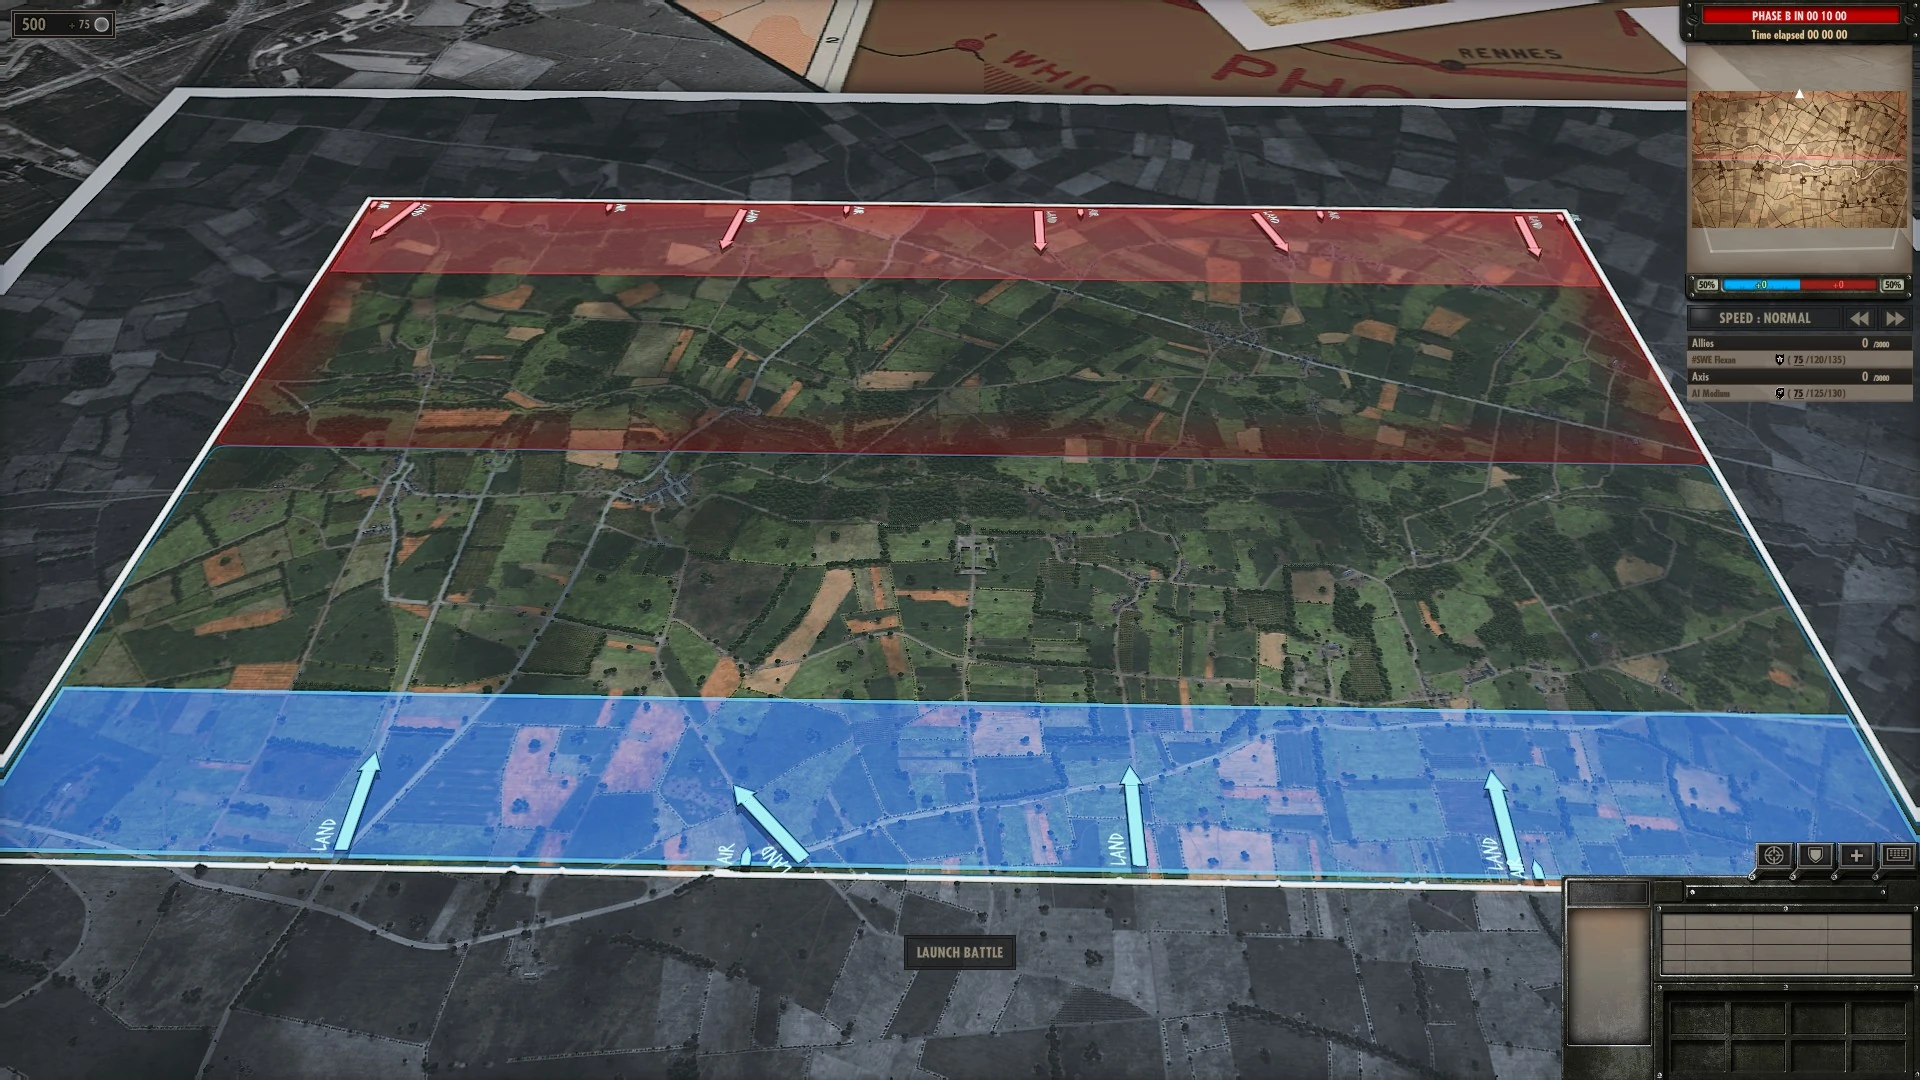
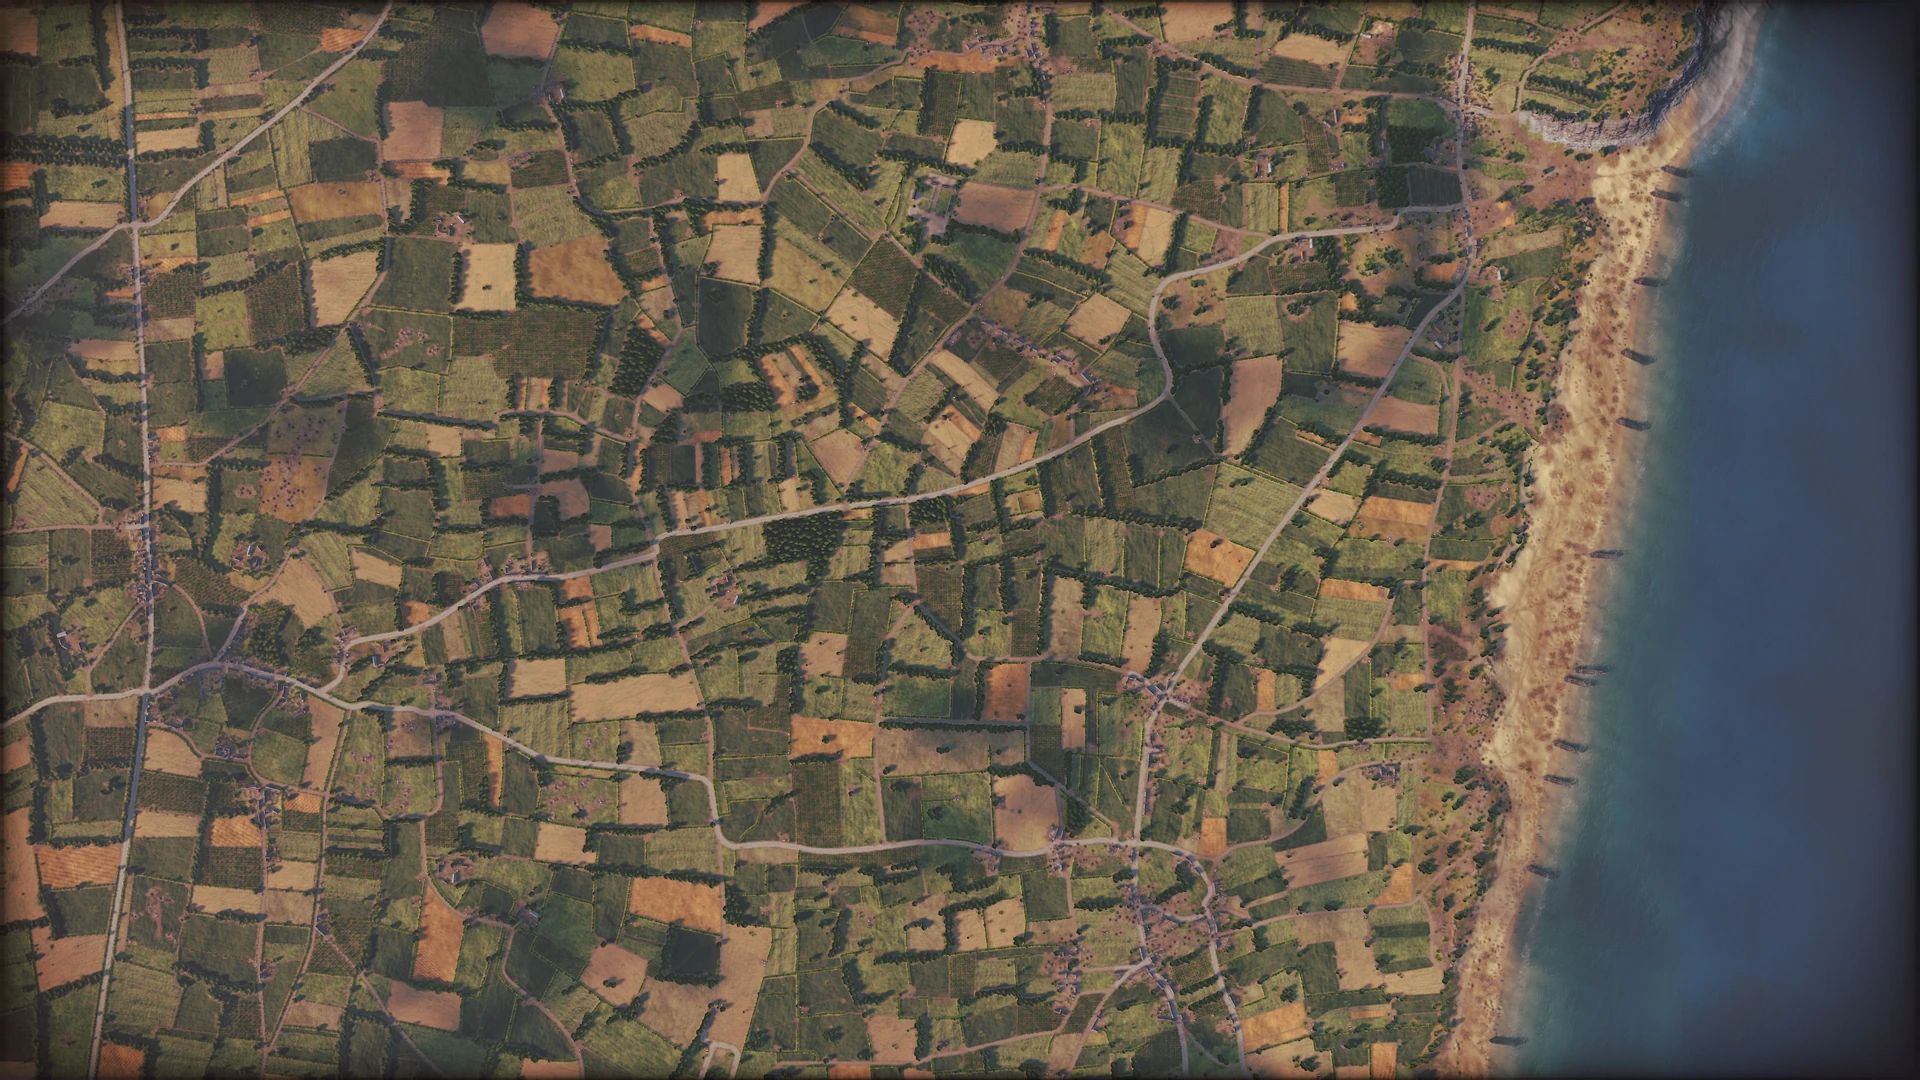
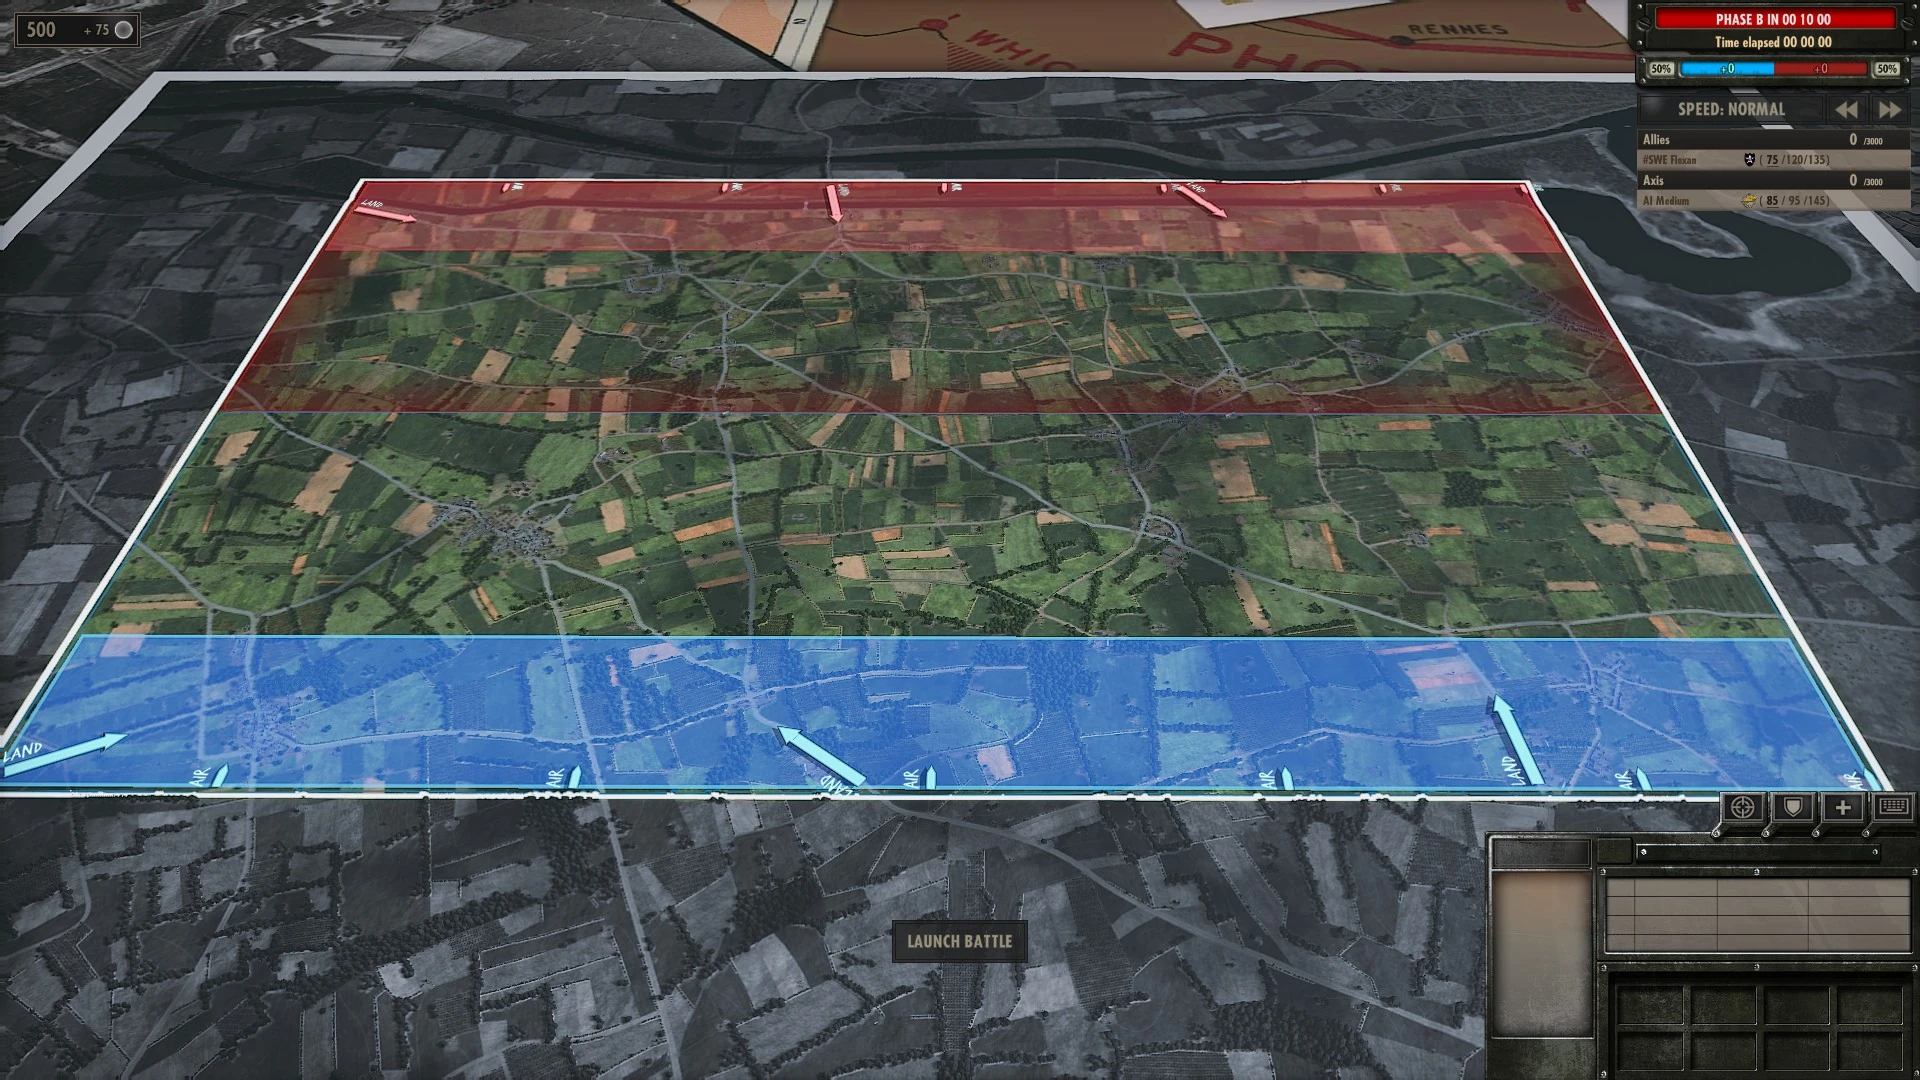
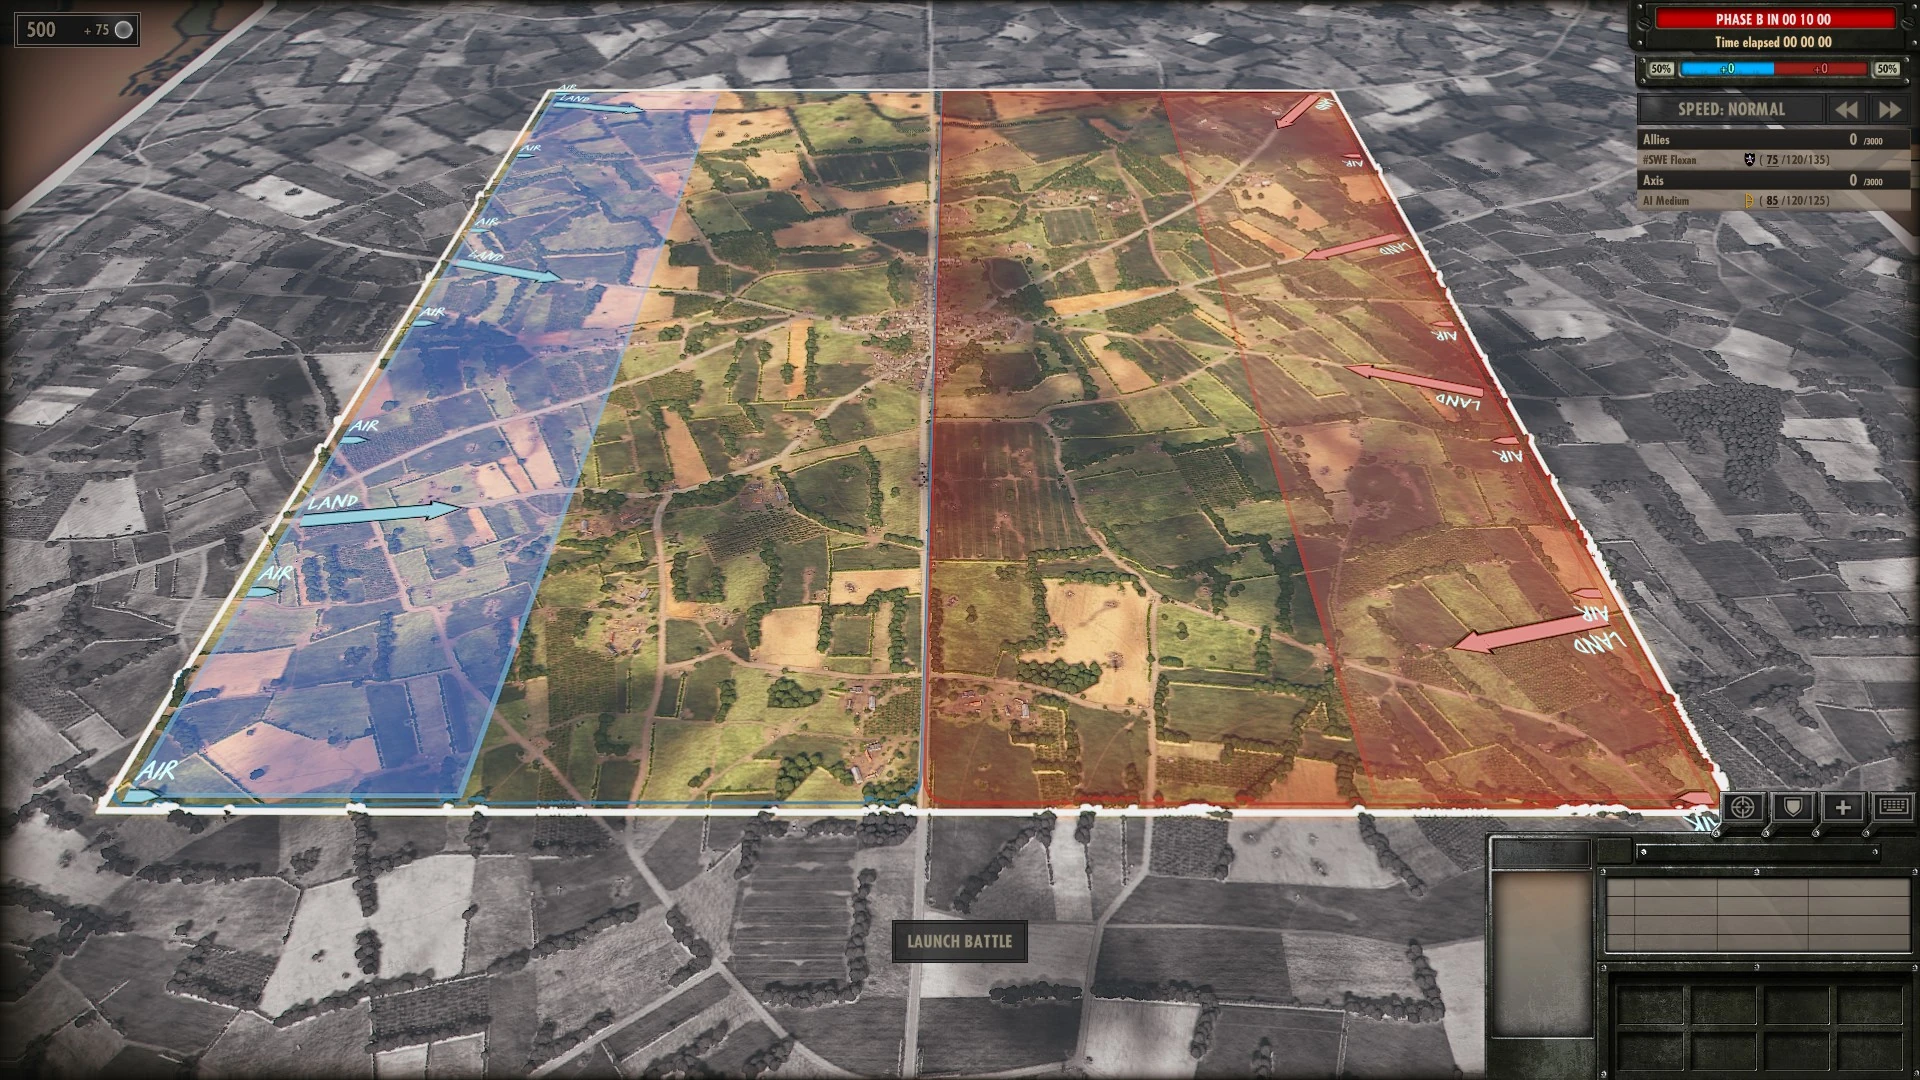
Steel Division features several maps for multiplayer use, each with its own, distinct set of challenges to overcome. A roughly historical order of maps is as follows:
- Omaha/Colleville/Pointe du Hoc → Pegasus Bridge → Caumont L'Eventé → Merderet → Cote 112/Cheux → Carpiquet → Odon → Colombelles → Mont Ormel
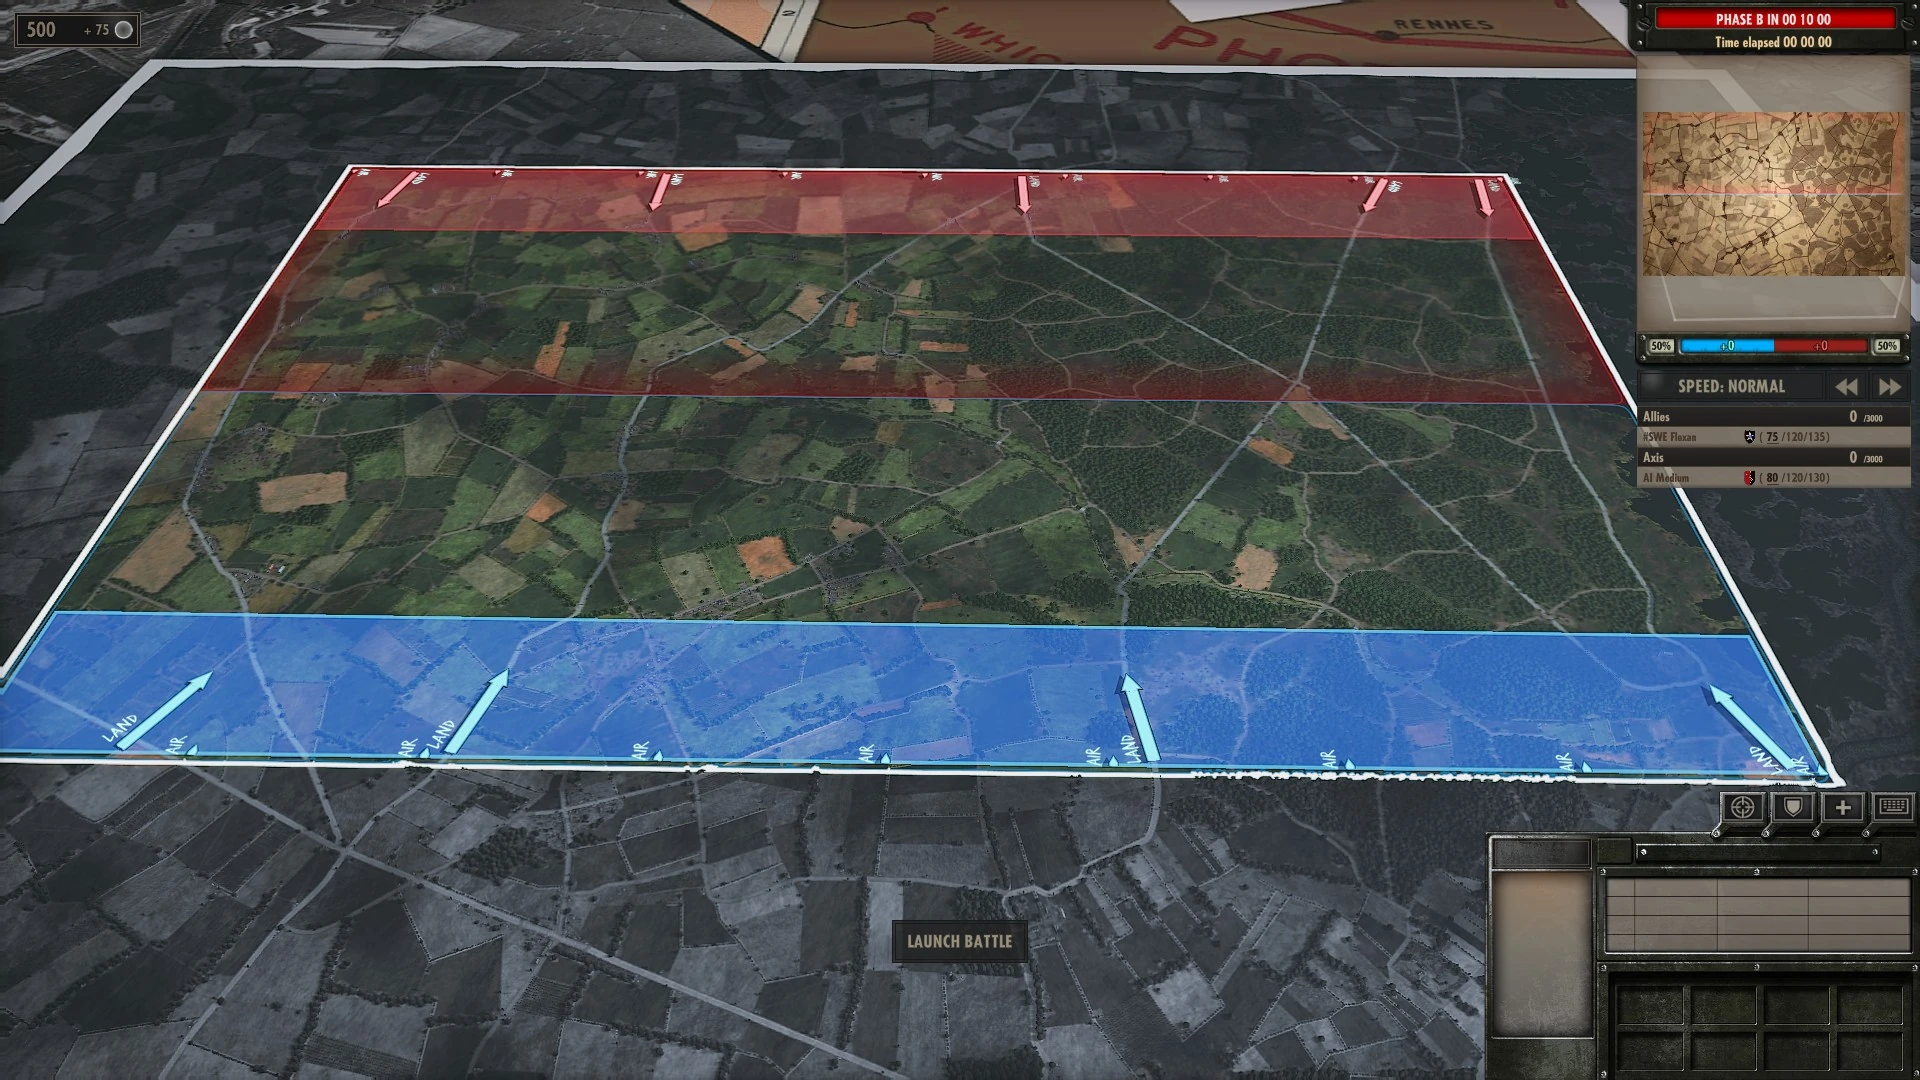
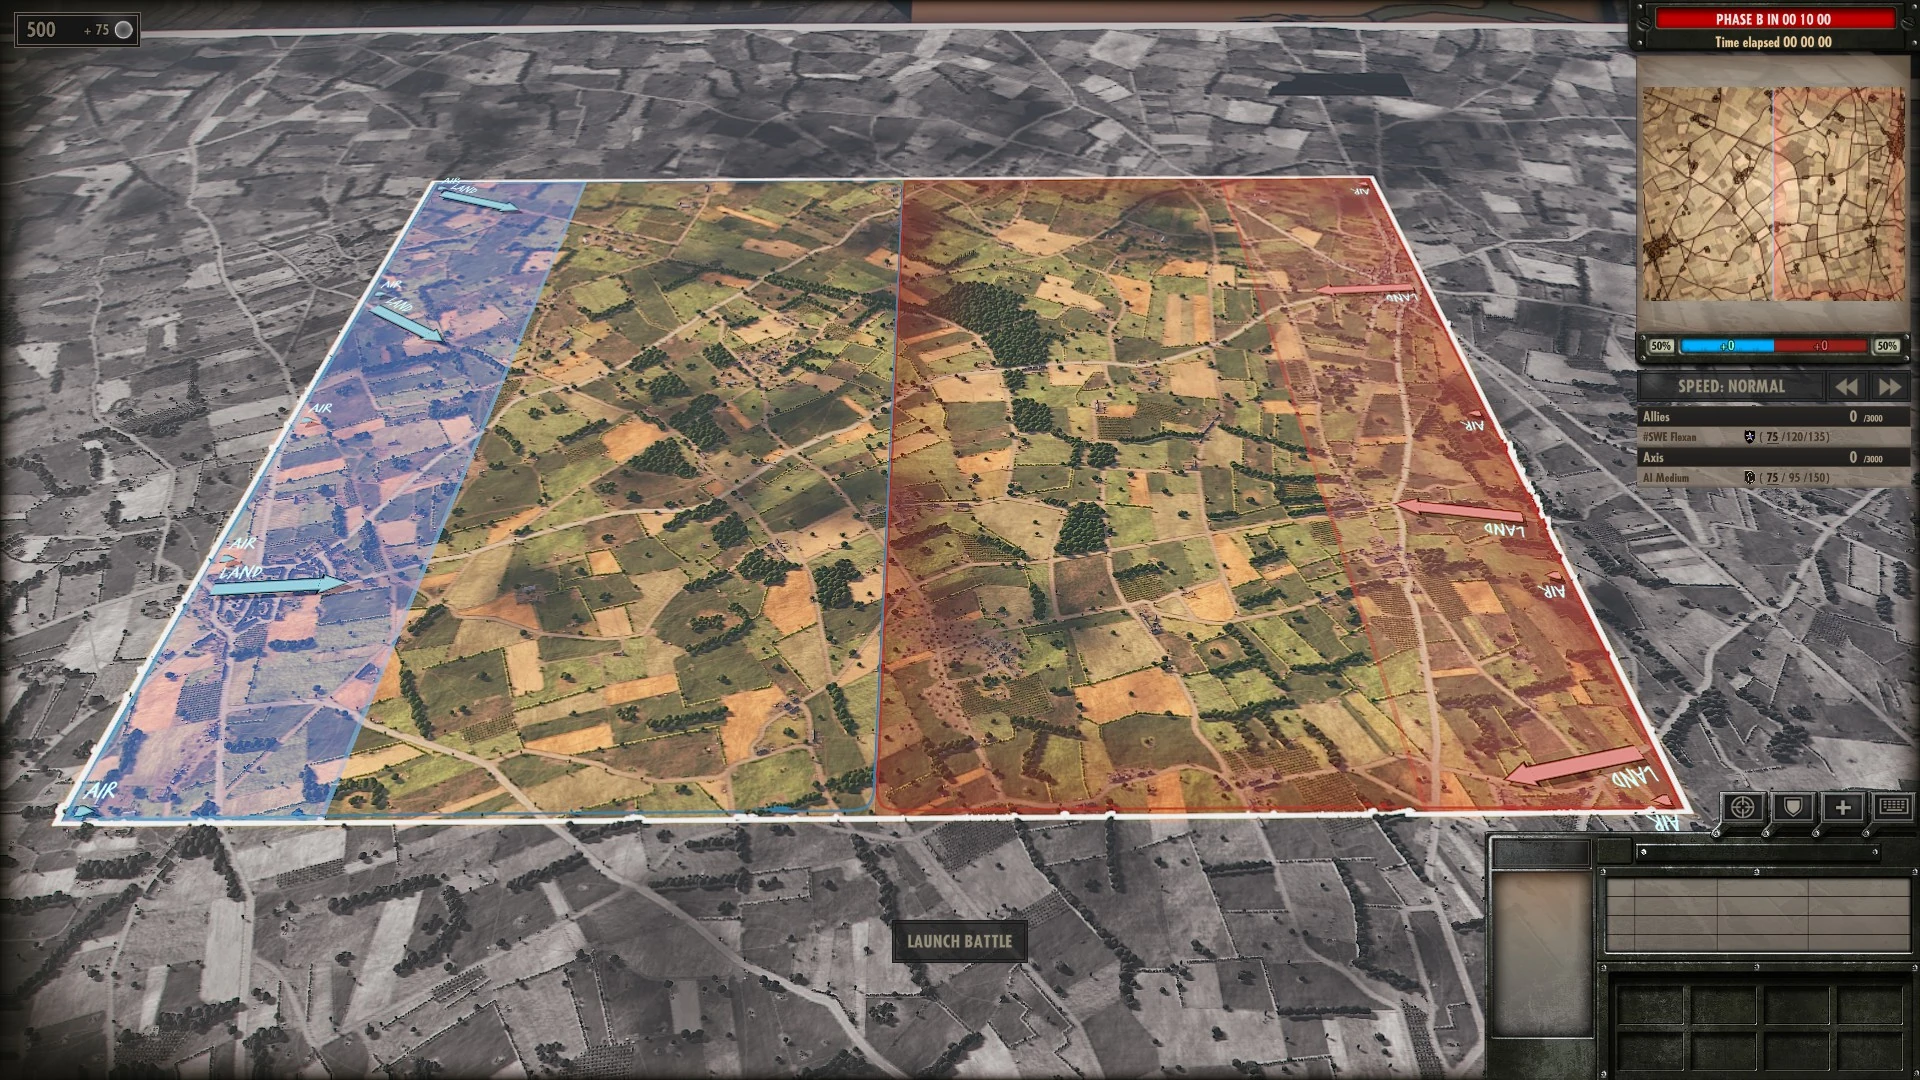
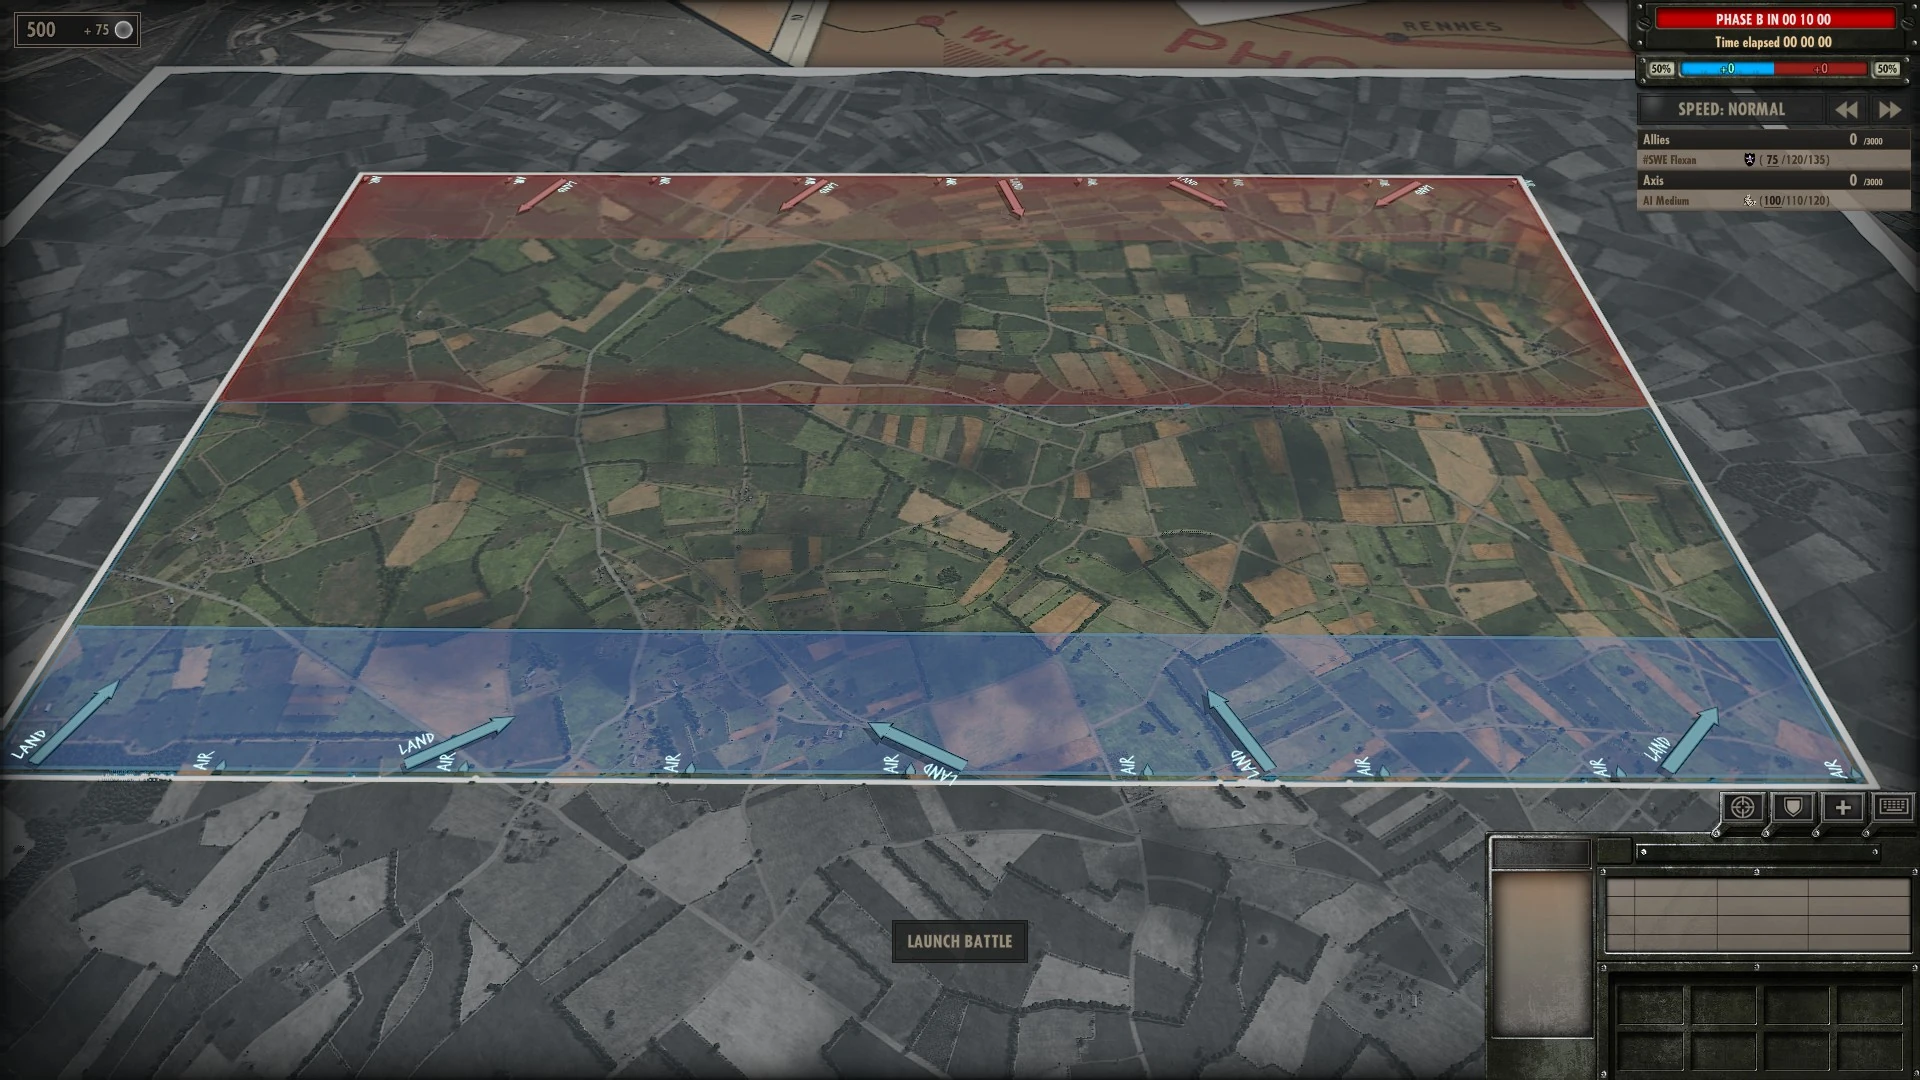
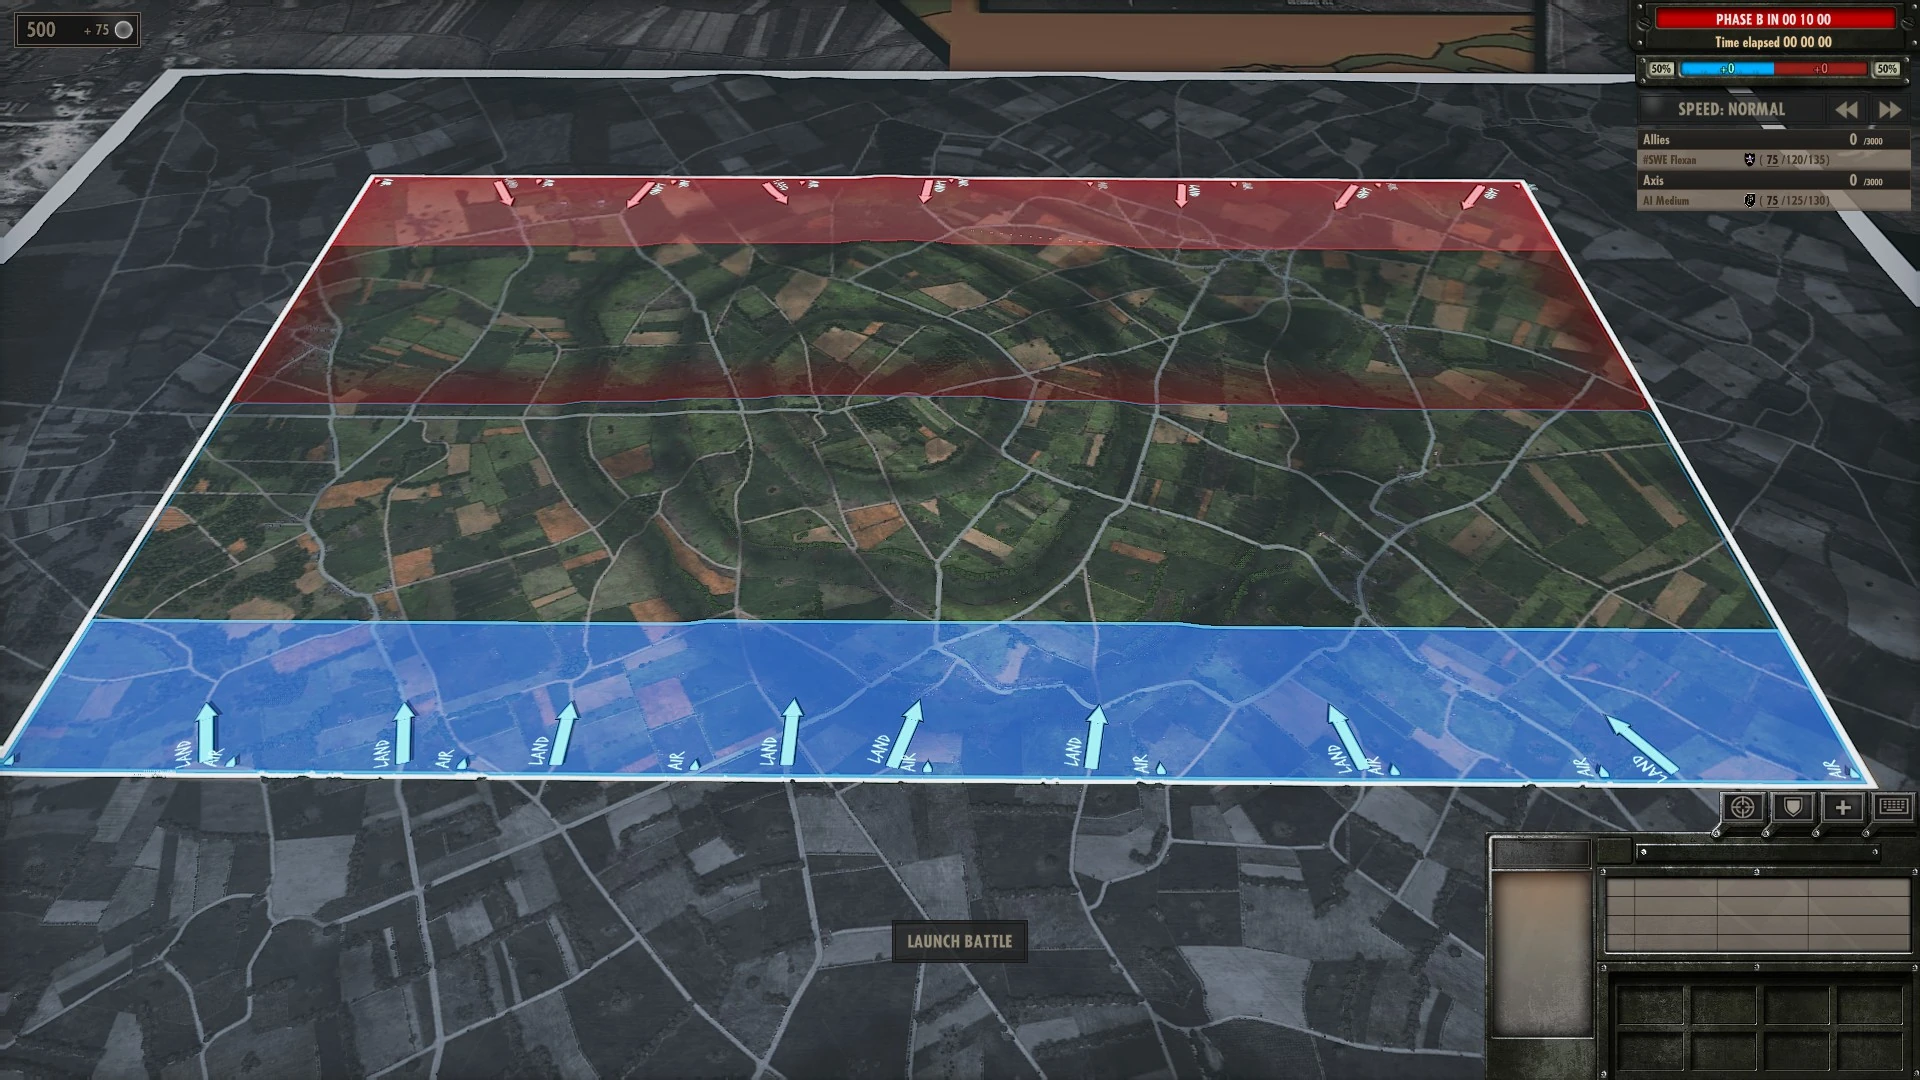
List of maps[ | ]
| Map | Minimap | Environment | Notes |
|---|---|---|---|
|
|||
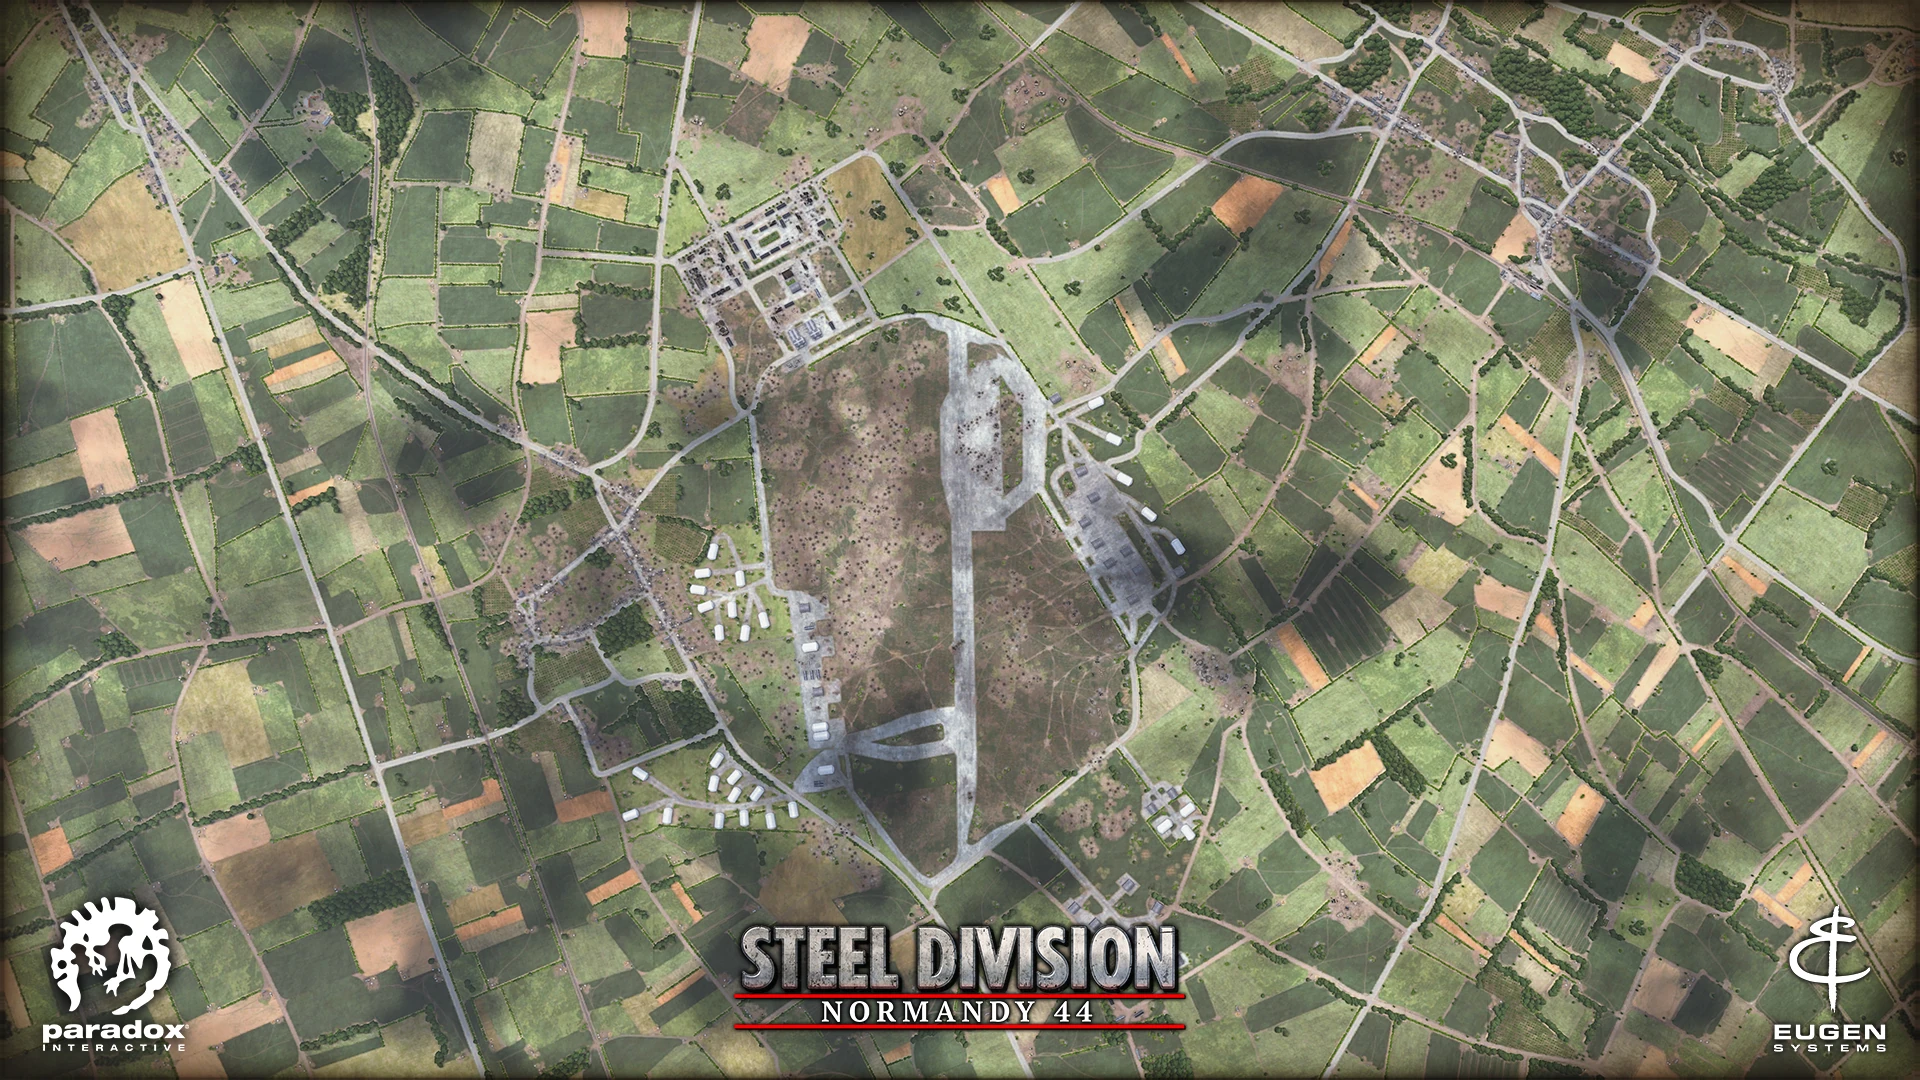 |
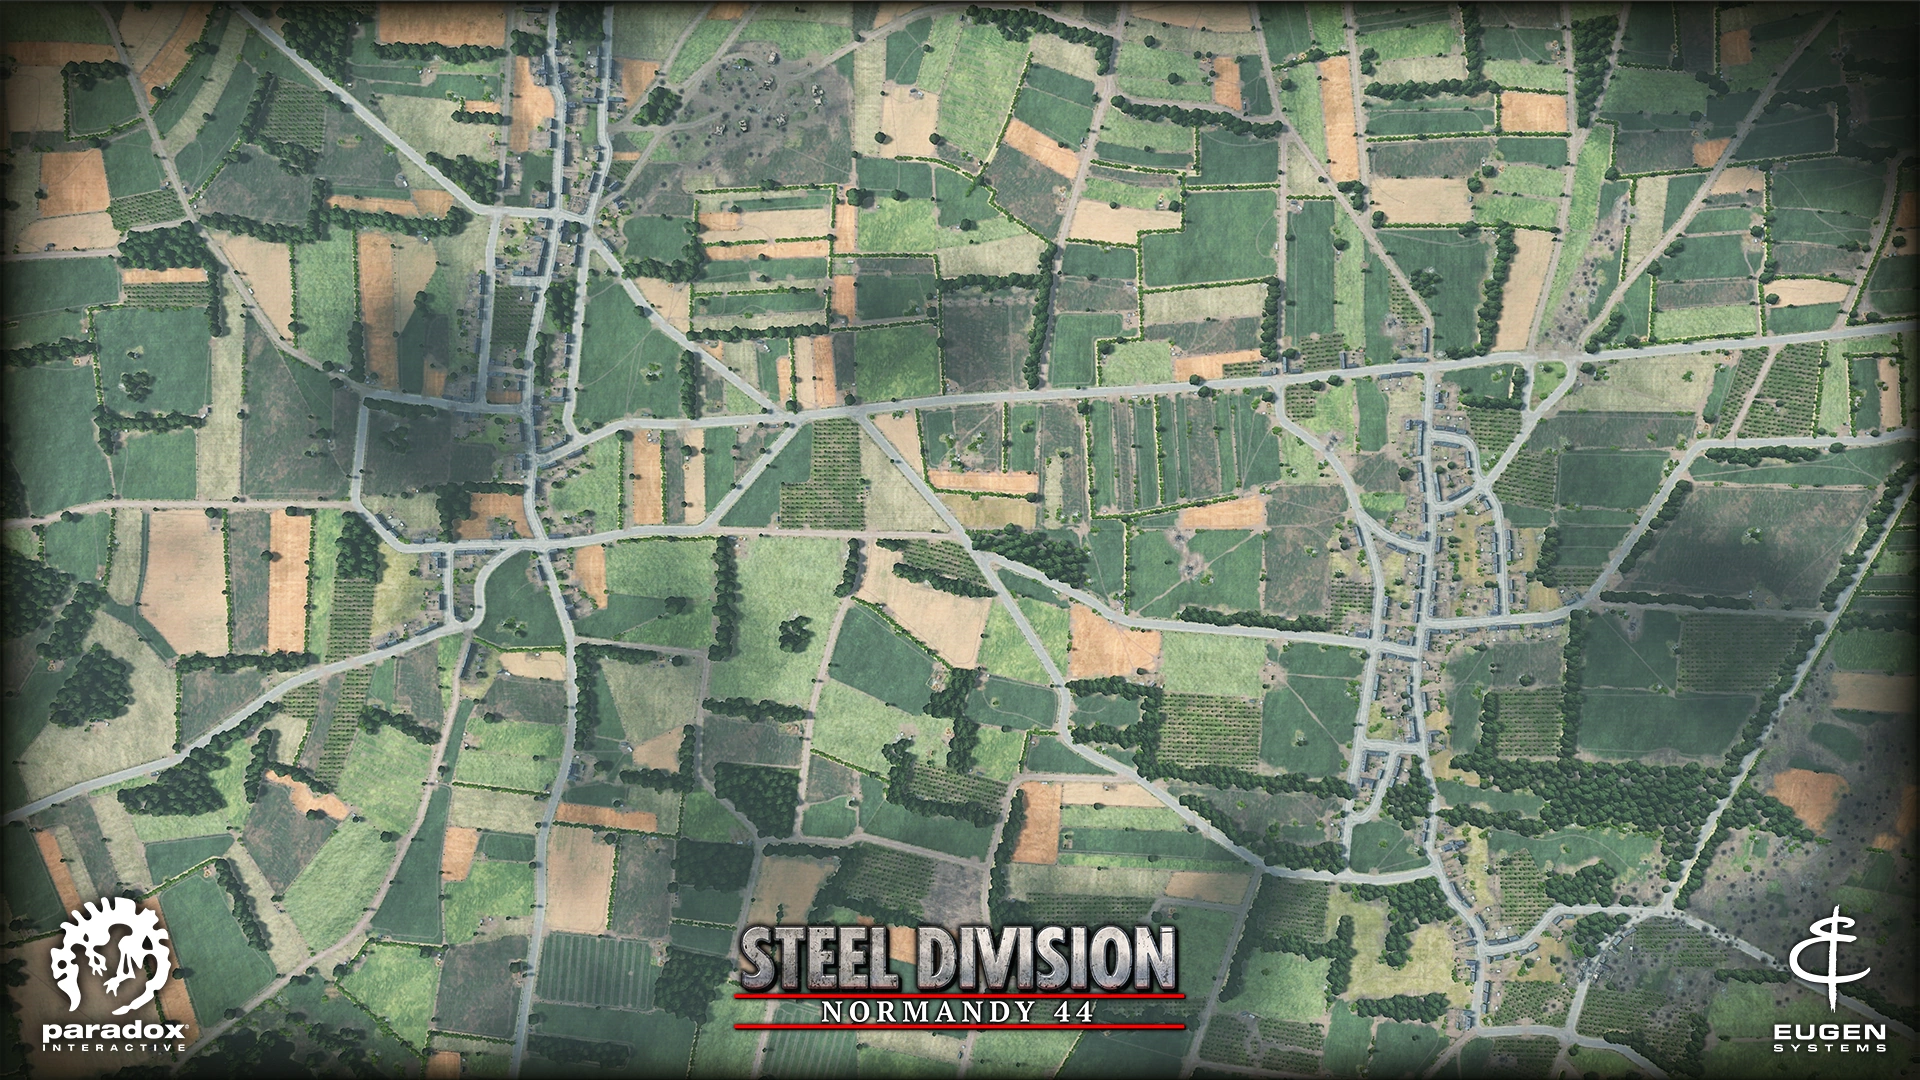
Generally open map with a centrally-positioned airfield. | ||
| Carpiquet Duellist | 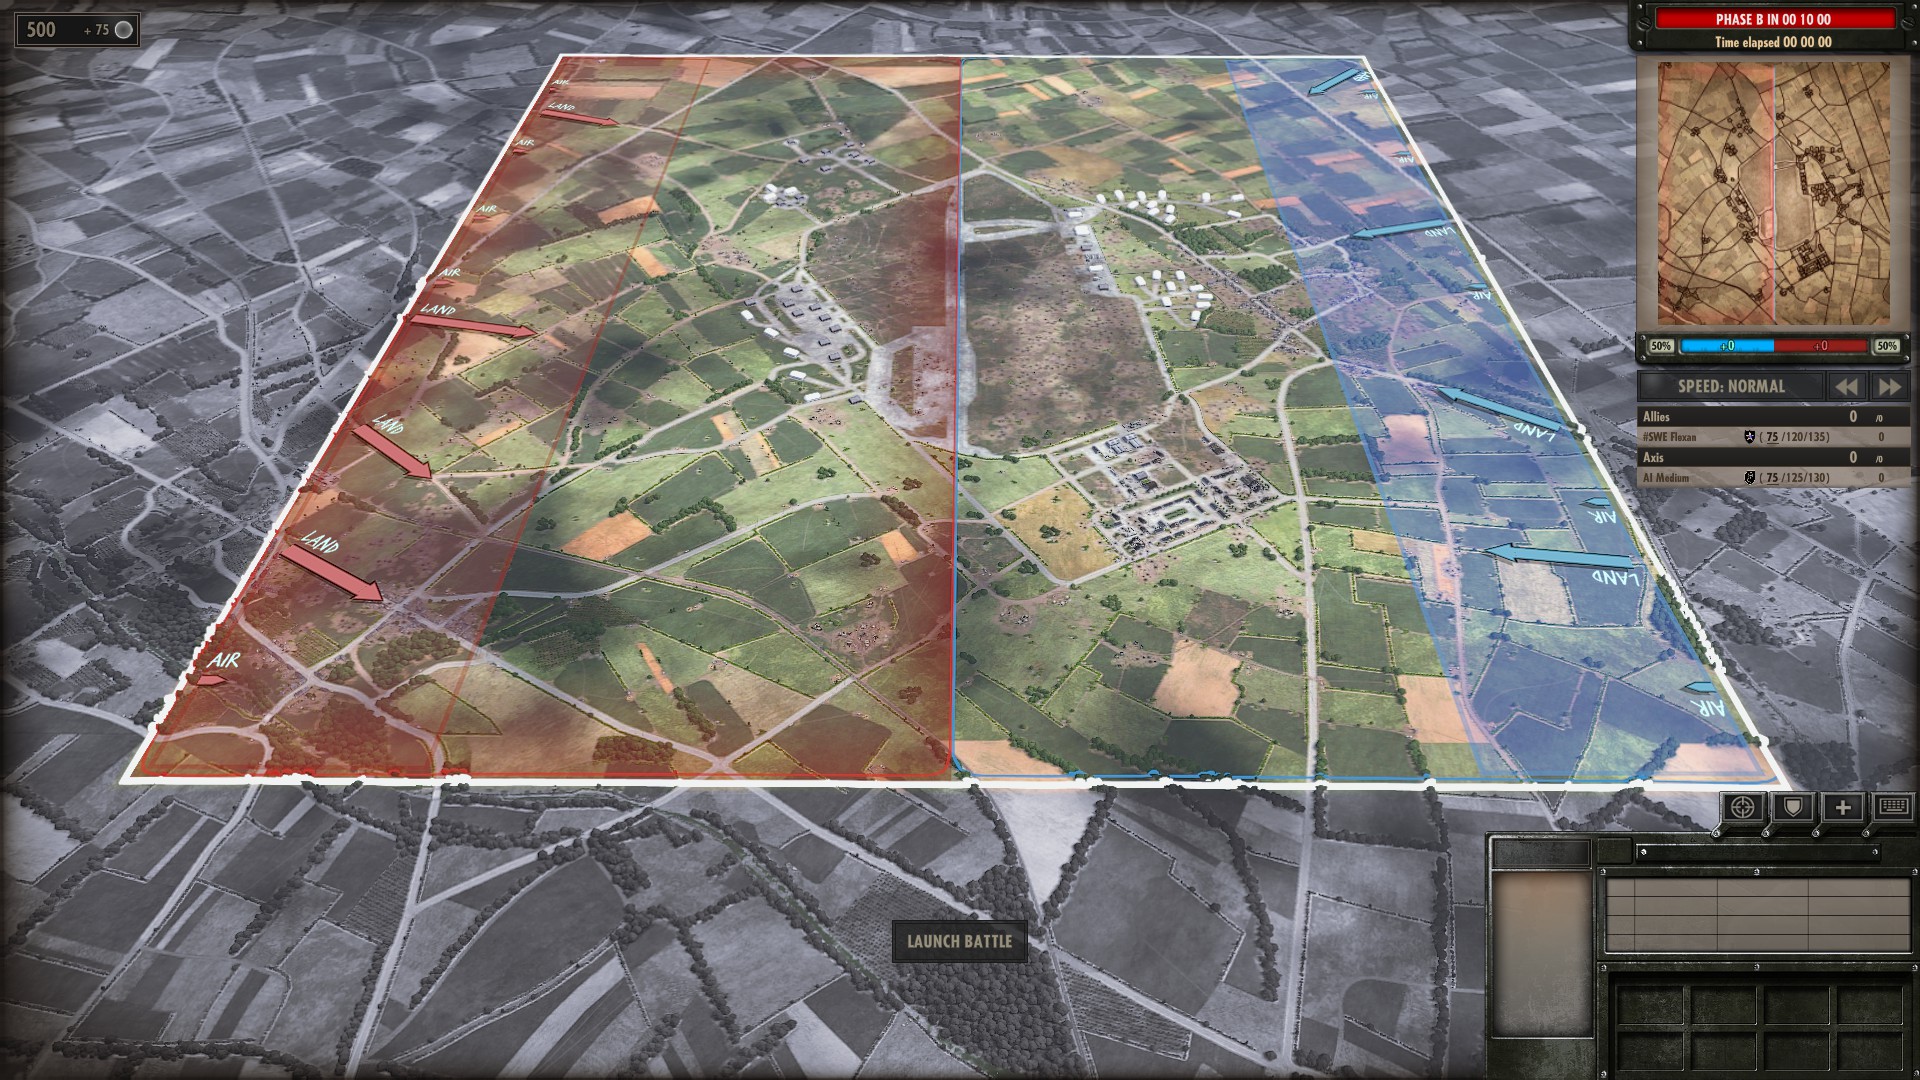
|
||
|
Wide open spaces bracketed by forests. | ||
|
|||
 |
Map is characterized by 2 small villages and small fields encircled by hedgerows. | ||
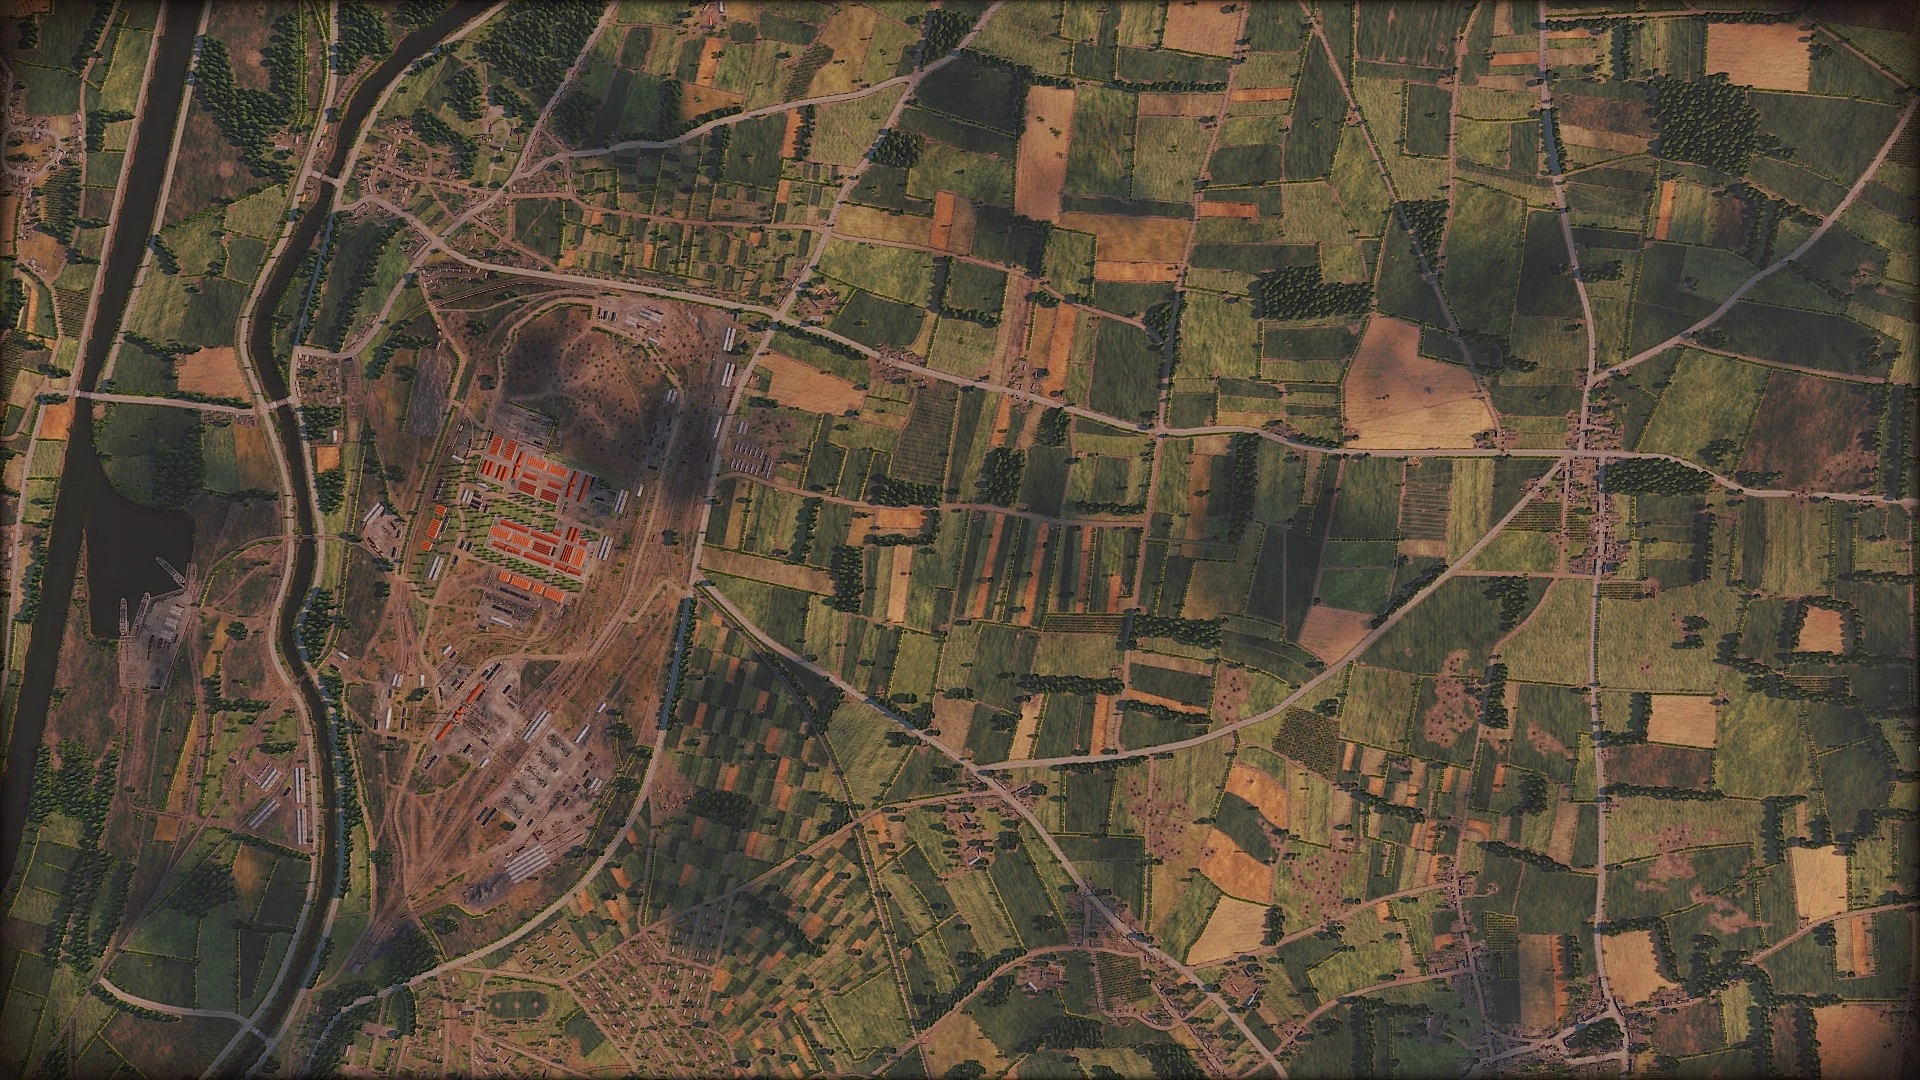 |
Mixed map, with heavily urban, industrial areas and rather open fields. | ||
|
A hill with several levels of elevation. | ||
|
Just 1v1 and
2v2/3v3 | ||
 |
Everything from open fields, hedgerows and small villages | ||
|
Large, forested map bisected by a river | 1v1 and 2v2/3v3 don't include the river | |
| Odon River | 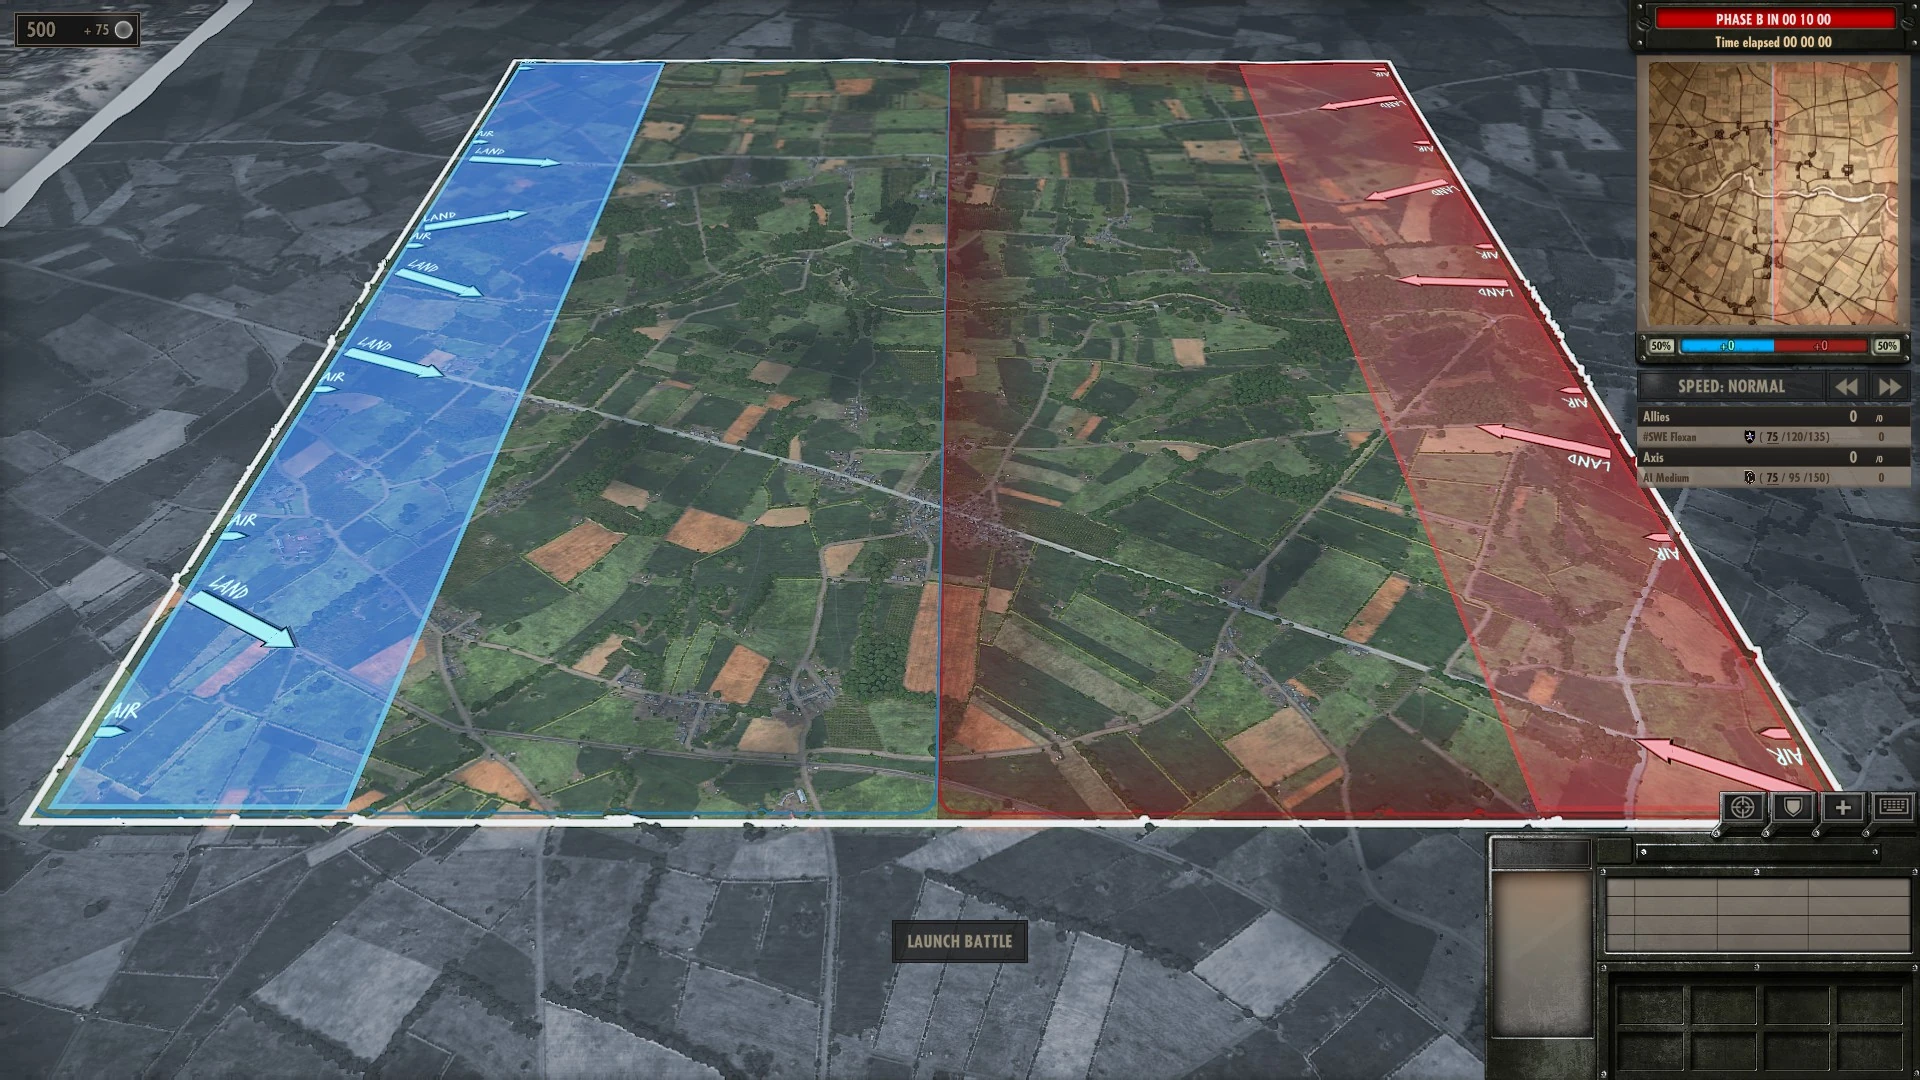
|
Just 1v2 and 2v2/3v3
split by the river like Odon 4v4 | |
 |
Sadly not that much fight at the beach but more hedgerow hell. | ||
|
|||
 |
Small fields a Village and hedgerows, not much more. | ||
|
|||
| Sainte-Mère-Eglise Duellist | 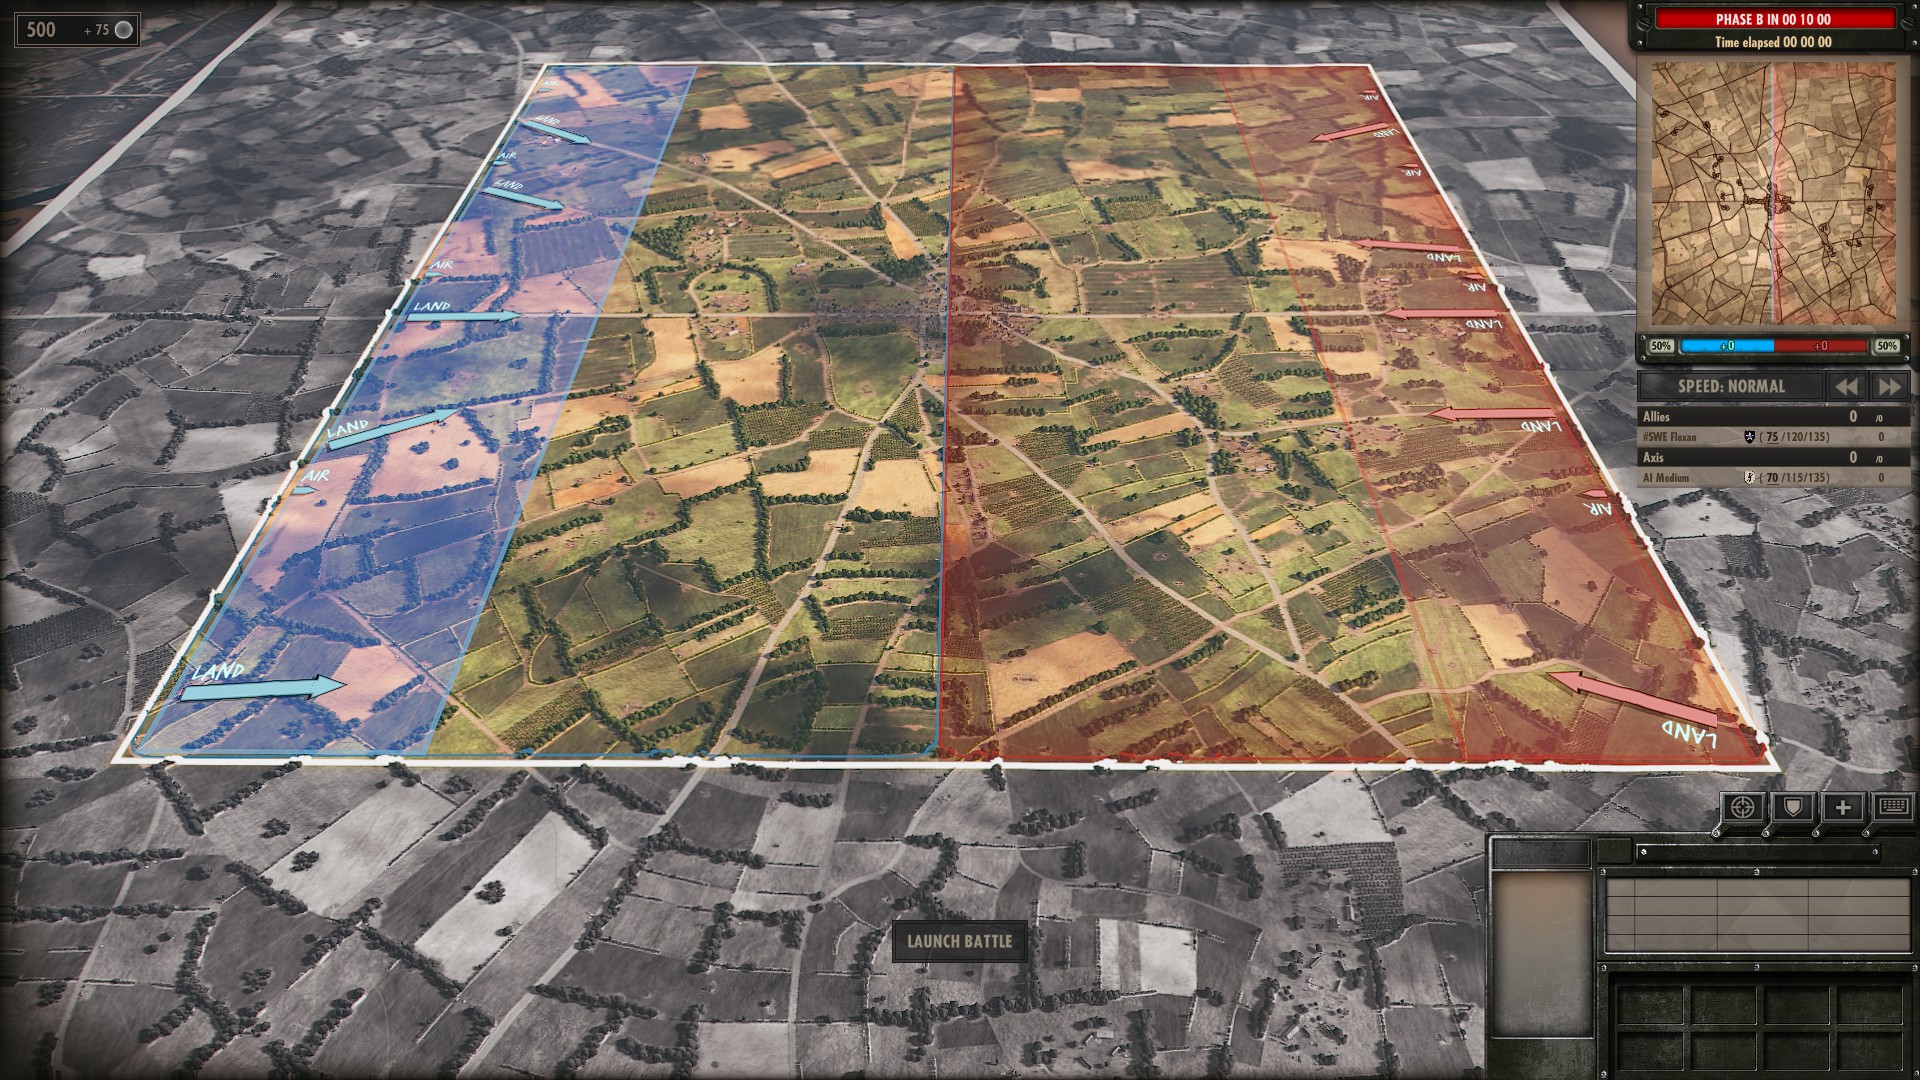
|